Don’t you just love this farmhouse lint bin on Amazon? They are so many options that are both pretty and functional.
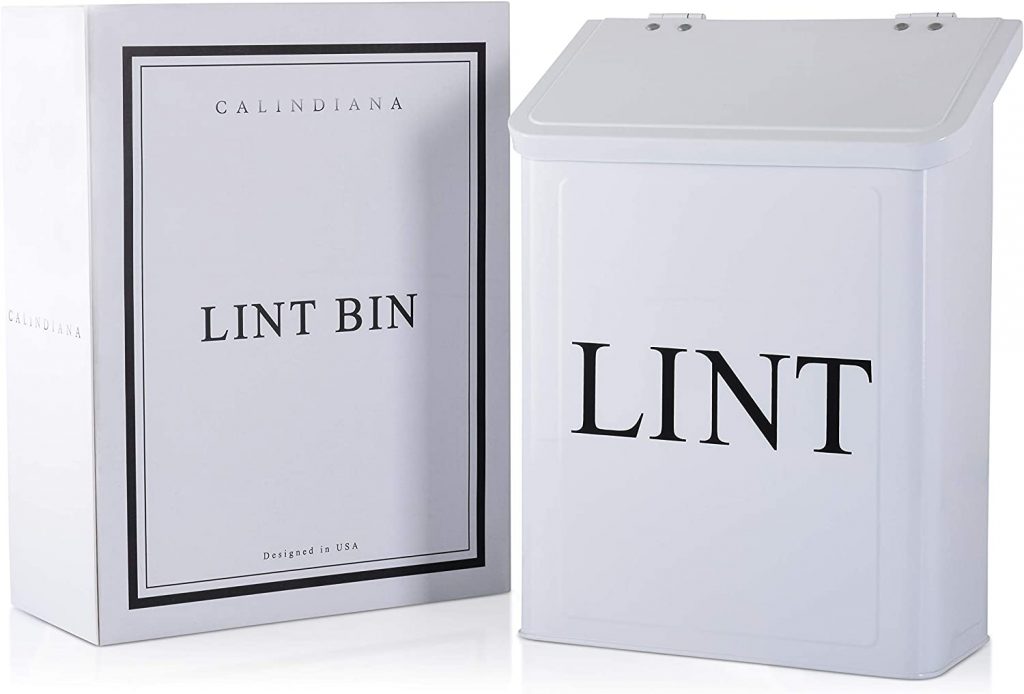
But then, I can’t help but say to myself…does a container for dryer lint really have to cost $26??
We are in week 3 of the $100 Room Challenge, and spending that much on a lint receptacle is just not in my plans!
I’m sure you can relate to seeing an item while shopping, and thinking…I could make that, right?
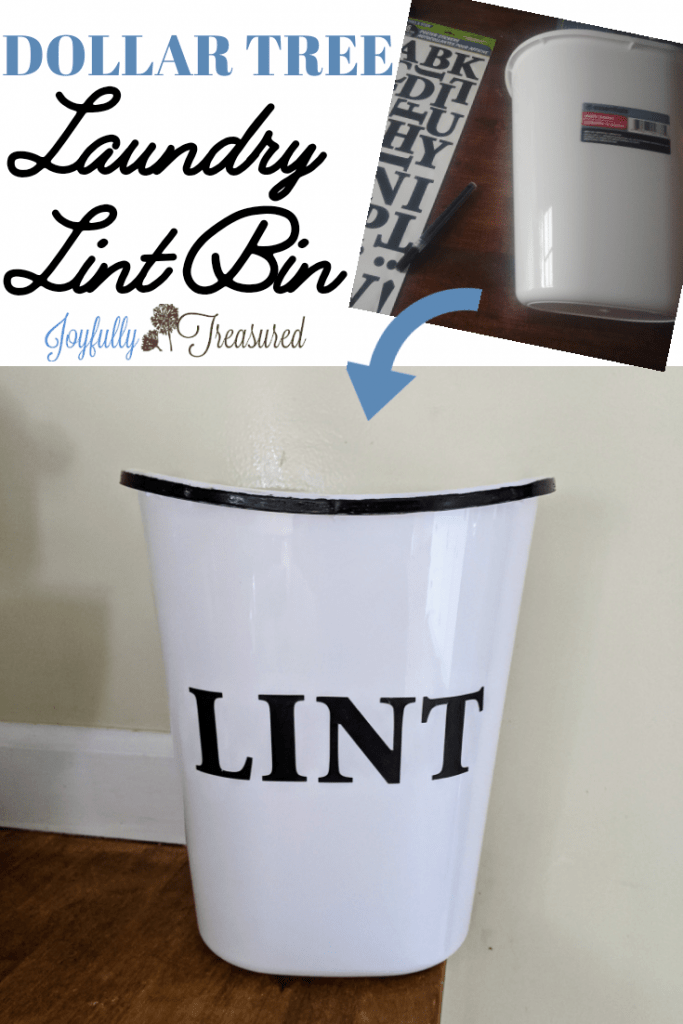
So today, I’m sharing my latest Dollar Tree DIY experiment with you! Post may contain affiliate links.
Lint Bin Supplies
To complete this laundry room lint bin craft, you only need three items.
- A white Dollar Tree trash can
- black poster stickers (from Dollar Tree)
- black sharpie paint pen (or any paint pen designated for plastic)
I already had a black paint pen on hand from a set of pens for rock painting. (In retrospect, I think a sharpie paint pen would have went on more smoothly, so that is the paint pen I listed above.)

Friends, this project is SO simple… It might even win the award for the easiest project I have ever shared. (No complaints here!)
The first thing I did was remove the sticker. It came off easily with no residue.
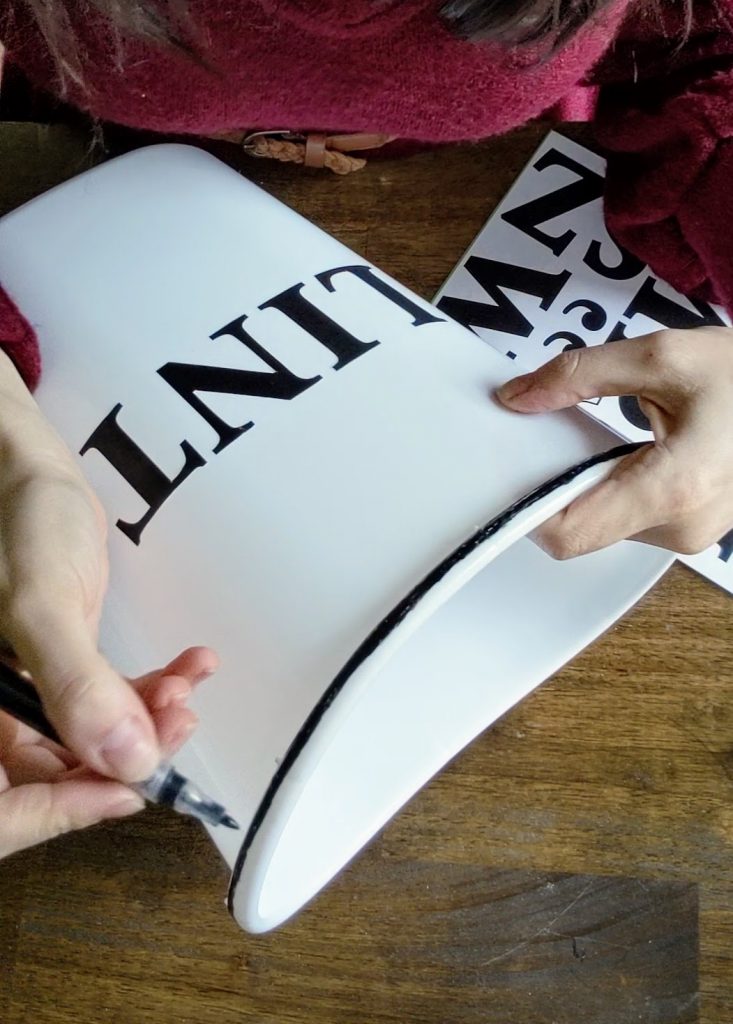
Then, I just peeled the poster sticker letters L I N T and positioned them evenly on the front of the trashcan.
I made a quick one minute YouTube video showing the process! (Please excuse my terrible video skills, I am still learning!)
I considered that stenciling the letters, or tracing and coloring in with the paint pen might be an even better option. But, these stickers seem to do the job… and they really seem “stuck” on the trashcan!
Since the bin will rarely be handled aside from dumping lint every so often, I think these stickers will work perfectly.
Luckily, I can always stencil them later if need be! In fact, I think cutting and using the sticker backing outline of the letters would make a wonderful “stencil”.

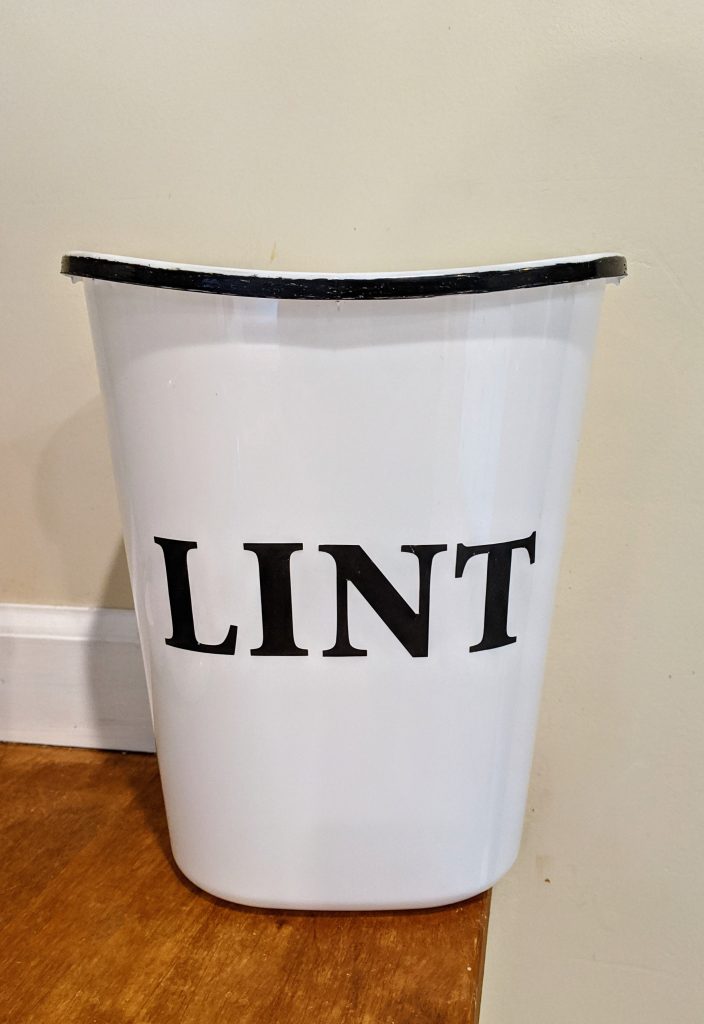
The final step is to take the paint pen, and create a black band around the top of the trashcan. I started with a thin line, but kept adding until I was happy. For me, a nice bold line looked the best!
I think adding the simple rim along the top makes it look more farmhouse vintage style, and hopefully a little less plastic!
Because the trashcan has a lip around the top, hanging it is simple. The trashcan (and the lint) are super lightweight, so you could hang it with command hooks, small nails, or even a couple thumb tacs!

I am really happy with this little bin. For $2, it will be a great addition to our $100 laundry room makeover.
For some reason, I just love a good craft from Dollar Tree! If you enjoy low budget crafting projects too, here are some other ideas you might enjoy!
- Dollar Tree Farmhouse Sign
- Dollar Tree Garden Cloche
- Under the Sink Makeover
- Dollar Tree Fruit Basket Display
- Hanging Solar Mason Jar lights
$100 Room Challenge Updates
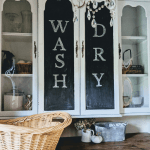
Last week, we mounted the hutch to the wall in the laundry room. I am so excited to get the last coat of paint on it now that it is installed.
Also, I picked up a few supplies to put together some low budget wall art; I can’t wait to share that when it is finished!
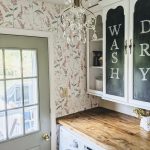
Ordering this adhesive wallpaper on Amazon is the most exciting update of all! I have never used this type of wallpaper before, but I have heard great things!
For this week, my plan is to paint the laundry room door and trim, finish the hutch, and paint the hutch doors.
The Budget so Far
- Hutch: FREE on Marketplace
- Primer FREE from the basement
- Paint: $2.50 oops paint
- Foam Rollers/ brush: FREE (already had on hand)
- Brackets: $5.76
- Wood: FREE
- Light Fixture: $25.00
- Stain: FREE from shed
- Wood Bowl Finish: FREE from basement
- Scotch Brite: FREE from kitchen
- Adhesive Wallpaper: $33.24
- Dollar Tree trashcan and stickers: $2.00
- Dollar Tree frames: $3.00
- Decorative Paper: $.75
Total so far: $72.25
Click on a week to check out the other posts from this makeover challenge.
Week 1 Week 2 Week 3 Week 4 Week 5
The link up below gives you a peek at what the other ladies are working on for the $100 room challenge. You are sure to find something that inspires you. I recently looked through last week’s posts, and found a some amazing DIY ideas I want to try!


You have such a steady hand! My line around the top would be more of a wave! LOL. I can’t wait to see this project come together.
This is so cute! I love a good Dollar Tree hack. Your can is so much like the original but much more affordable
Thank you, Jackie!
Such a cute idea! Pinning it. $store is such a fun place to find ideas.
Thank you! It really is fun, you just never know when inspiration will strike for a dollar store hack! 🙂
What a cute DIY!
Pingback: $100 Laundry Room Makeover DIY, Vintage Chic Laundry Room on A Budget - Joyfully Treasured