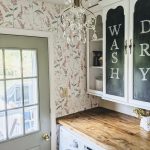
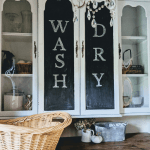
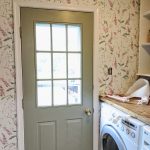
It’s week 4 of the $100 Room Challenge, and we are making progress on the laundry room! The hutch doors are almost finished, and the entry door is primed and ready for it’s new paint color.
This week, I am sharing this simple coat rack DIY.
A hanging rod was on my wishlist for the laundry room, but with the size of the hutch, there just isn’t much space to put one!
So, I decided to make a coat rack on the wall behind the door instead.
Since this laundry room is also an entry door, it will do double duty both as a clothes rack for laundry, and as a coat rack when we need it.
The best part? I had everything I needed to make this coat rack already at home!
Supplies to Make a DIY Coat Rack
- Hooks
- Wood (This is a perfect way to use a scrap piece)
- Screws
- Level
- Drill
- Drywall Anchors
- Tape Measure
- Paint or Stain (optional)
1. Prep: Clean and Sand if Needed
For this project, I used a scrap piece of wood baseboard trim we had leftover in the basement. At 24″, it was the perfect length.
It was a bit dirty from spending a year in an unfinished basement closet, so I wiped it down with a wet cloth and let it dry.
Since the trim is pre-primed, I did not sand. If the wood you are using has rough edges or loose splintery bits, sanding will give a nice smooth finish.
For me, prep also included cleaning the hooks!
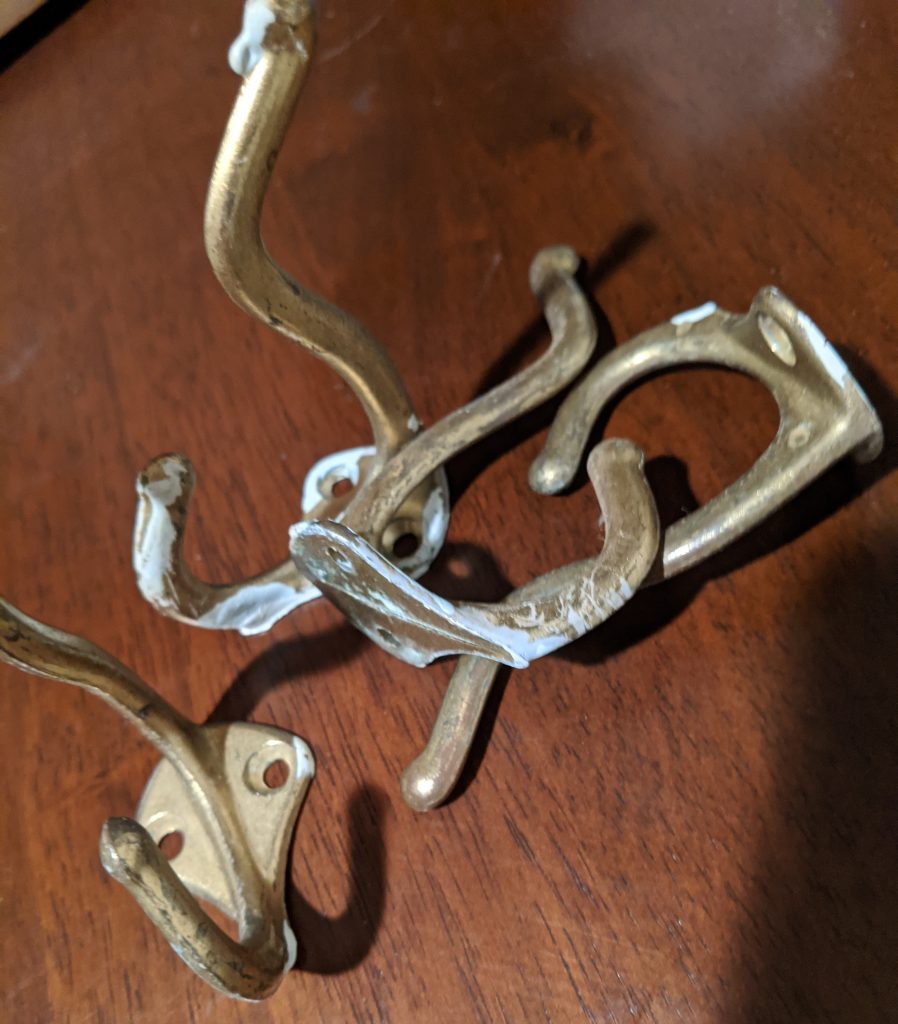
We took these down when we organized the kid’s closets, and they are a bit tarnished and full of paint splatters.
I scrubbed them with steel wool, and they look much better!
2. Paint or Stain the Board
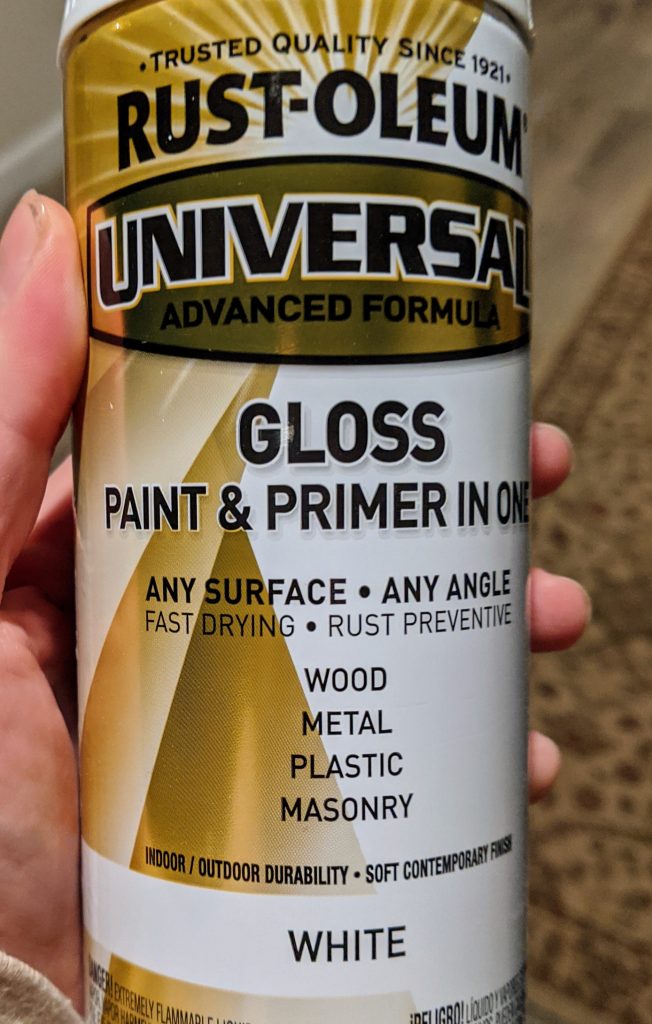
Next, it’s time to apply your paint or stain of choice.
I had some white spray paint left from another project, so applied a couple thin coats to the front side of the trim piece. I love the smooth, durable finish this spray paint gives.
3. Attach the Hooks
Next, mark the location of each hook.
First, I spaced the hooks out evenly along the board. I placed one hook in the center, and spaced them five inches apart.
After positioning the hooks, I marked the points for the holes with a pencil.
To mount the board to the wall, here is a great tip I learned from Lemons, Lavender, & Laundry! Remove the hooks on the end, and mark a point directly under each of the end hooks to install the screws that mount the rack to the wall. This way, the mounting screws are not exposed.
Next, predrill the marked holes so the screws are easy to install.
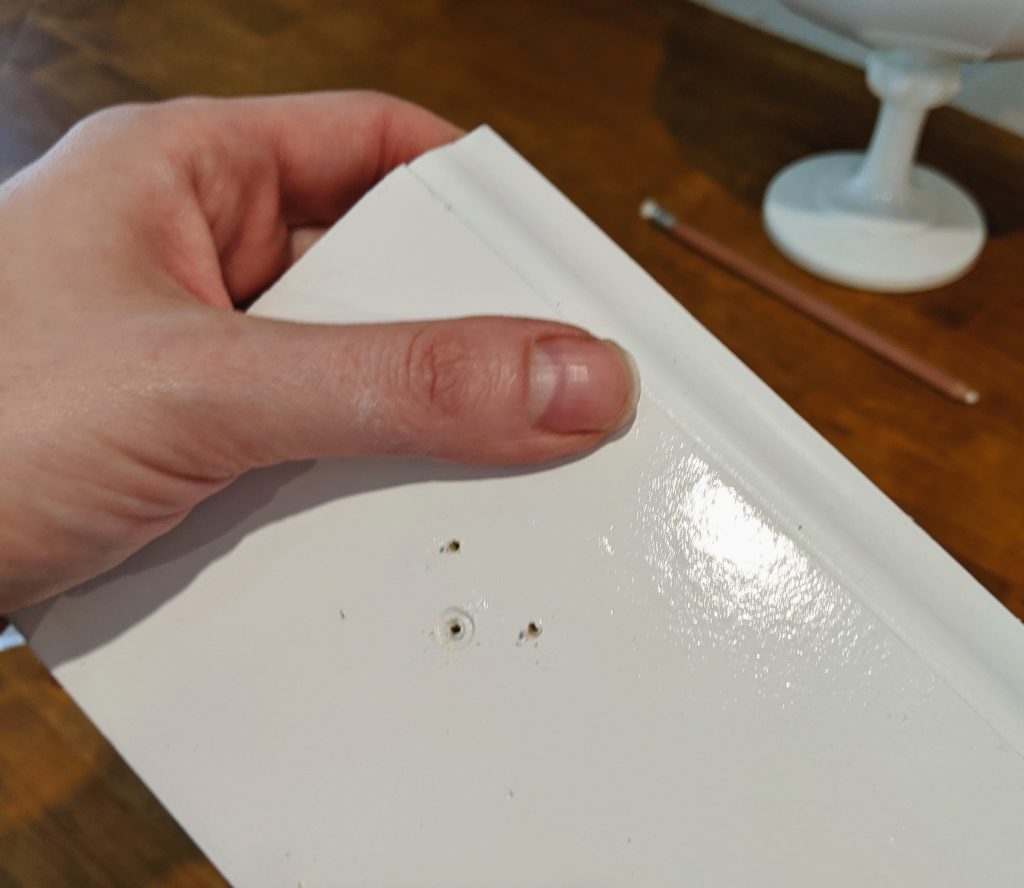
I loosely installed the three center hooks with a screwdriver, then it was time to mount the rack to the wall.
I screwed in the mounting screws so they were just barely poking out of the board. Be sure to use a flathead screw, so the hook can install flush on top.
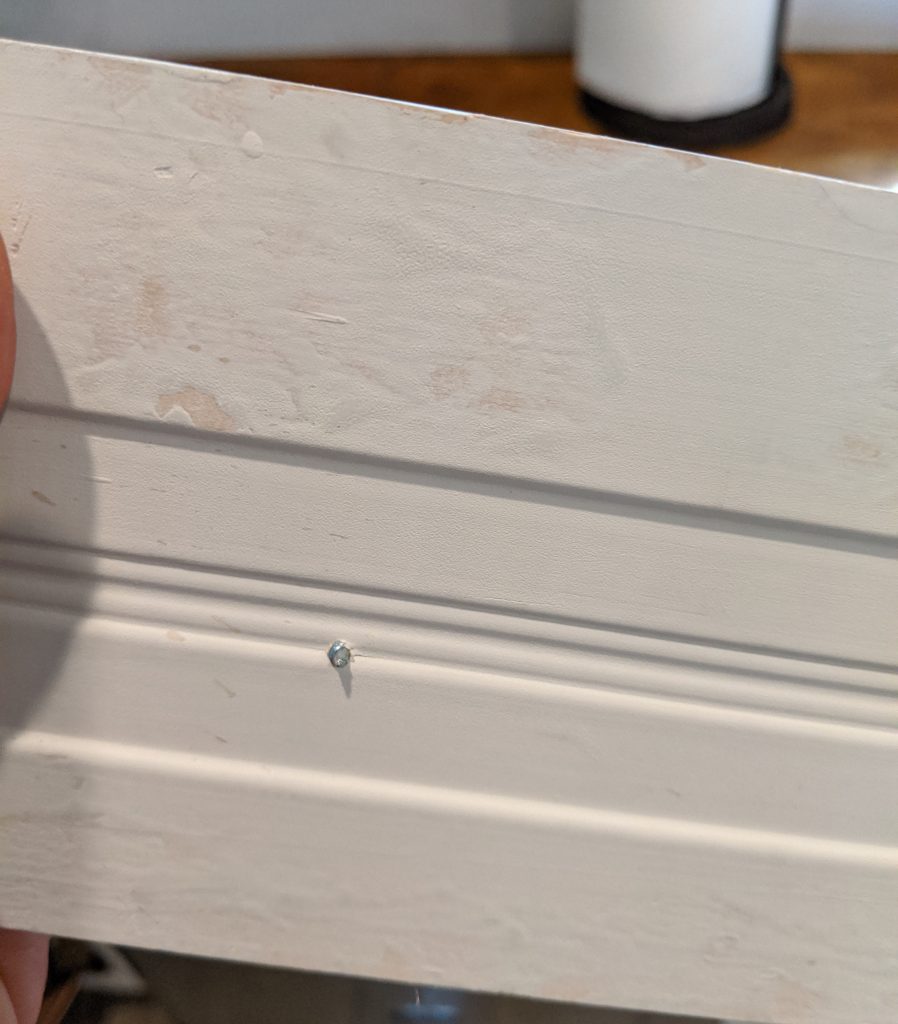
Then, using a level, I placed the coat rack where I wanted it on the wall, and pushed down to mark the holes for the drywall anchors.
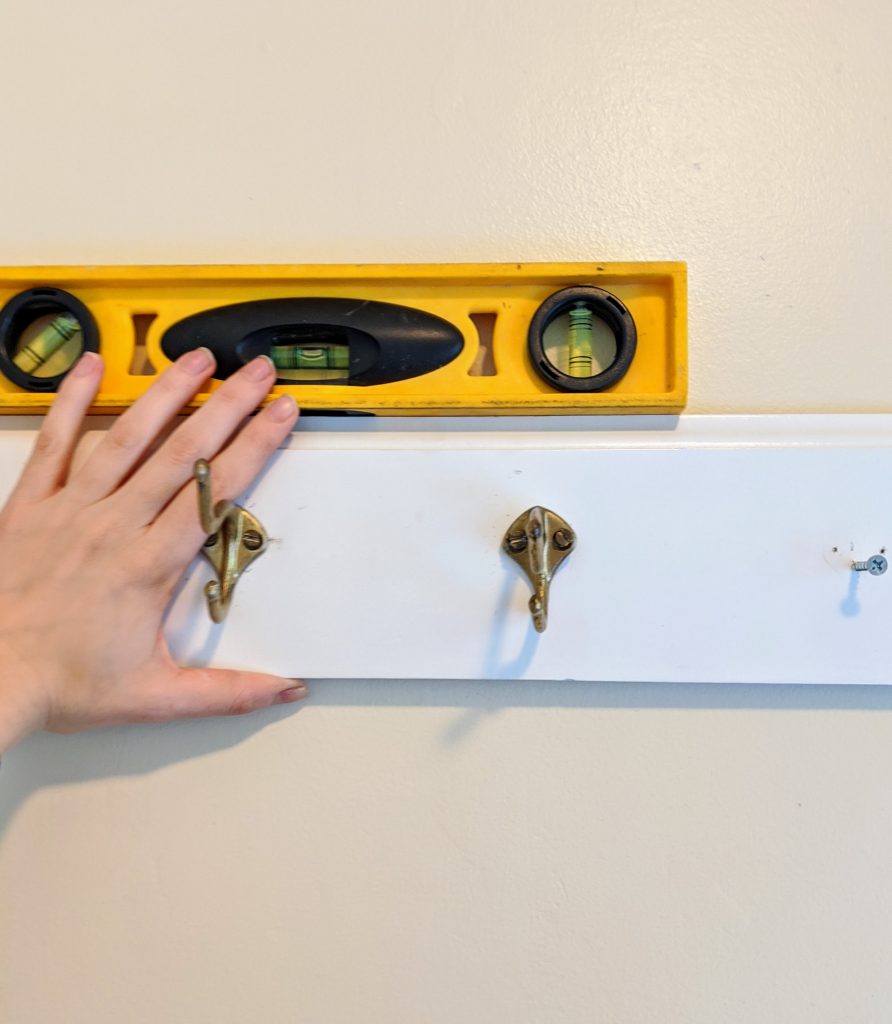
When I attempted to install the drywall anchors, I realized my spots were in the stud. So, I used the screws to mount the board directly into the wall.
I installed the two end hooks, and tightened them all into place. Normally that would be the end of the project!…
Unfortunately, during install, I nicked my brand new paint job with the screw driver!
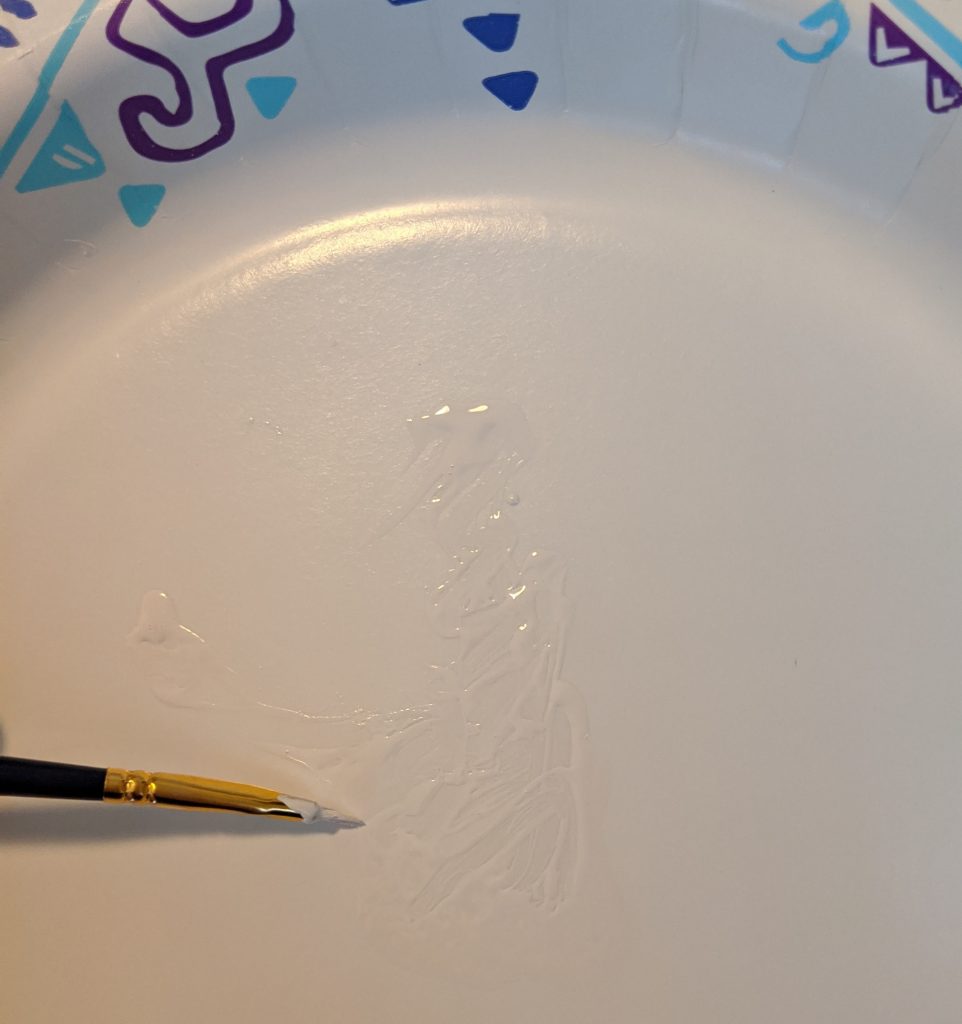
So, I sprayed a bit of paint onto a paper plate, and used a tiny brush to paint over the little scratches.
Easy peasy, and now it really is finished!
I love the slightly tarnished finish on the brass hooks. For the price of free, this little project was so worth the effort!

Updates for this Week
This week, the baby and I both had colds, so I accomplished less than I planned.
Sadly, I ran out of oops paint. So, I had to purchase another quart to paint the doors on the hutch.
I also needed a new paint brush. The Wooster shortcut is the one I purchased; it is my favorite!
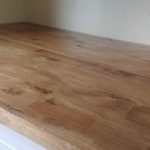
Finally, because we damaged the drywall a bit while we were installing the faux butcher block, I picked up a sample paint matching our wall color. Luckily, I already had some joint compound in the basement.
Besides the coat rack DIY, I was able to patch and touch up the wall, prime the exterior door, and prime the hutch doors.
This week, there is so much to do! I need to…
- Finish up and install the doors in the hutch
- Paint the exterior door
- Install the wallpaper
- Frame and hang the wall decor
- Organize and put everything way
- Relax, while Jason installs the light fixture LOL
The Budget so Far
- Hutch: FREE on Marketplace
- Primer FREE from the basement
- Paint: $2.50 oops paint
- Foam Rollers/ brush: FREE (already had on hand)
- Brackets: $5.76
- Wood: FREE
- Light Fixture: $25.00
- Stain: FREE from shed
- Wood Bowl Finish: FREE from basement
- Scotch Brite: FREE from kitchen
- Adhesive Wallpaper: $33.24
- Dollar Tree trashcan and stickers: $2.00
- Dollar Tree frames: $3.00
- Decorative Paper: $.75
- Quart of Paint: 9.76
- Paint brush: 4.98
- Sample Paint 3.98
Total so far: $91.47
Click on a week to check out the other posts from this makeover challenge.
Week 1 Week 2 Week 3 Week 4 Week 5
The link up below gives you a peek at what the other ladies are working on for the $100 room challenge. You are sure to find some inspiring ideas!
Loving the look of the brass hooks so much! This coat rack came together so nicely. Sorry- you had to buy extra paint to get your projects finished. Looking forward to seeing your space complete.
I’m doing a shelf this week too! Love the tutorial.
I love the vintage brass look of these hooks!
Pingback: Welcome to Our (Tiny) Laundry Room, $100 Room Challenge - Joyfully Treasured