Who doesn’t love the peaceful sound of running water? You can have your own bit of backyard oasis with a DIY solar fountain!
It was a childhood dream of mine to have a babbling brook in my yard like Anne of Green Gables. (Our neighborhood has a stream, so we were close!) I’d still love to have some flowing water in the yard, if the budget allowed it.
I first saw the idea for a DIY solar fountain over at The Interior Frugalista. The fountain part was surprisingly affordable, so I was inspired to make a version of my own for the backyard!
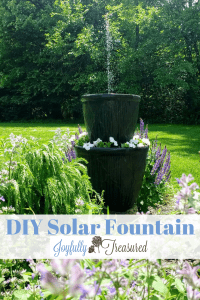
The fountain I put together is a tiered solar fountain with a flower planter on the lower level! Post may contain affiliate links.
DIY Solar Fountain Planter Supplies
- Two planters, one larger than the other
- 5 gallon bucket
- Solar fountain kit
- Potting soil
- Screw driver (for punching holes in flower pot)
- Flowers for the planter
- Wood skewers (if needed)
I ordered two large flower pots on sale at Lowe’s! I picked up a large one for the base and a slightly smaller one to make the fountain.
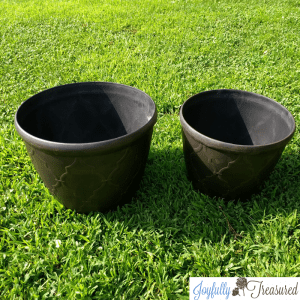
First, punch out the round circles in the larger pot to create drainage holes. I punched them out with a screw driver and a hammer. Do this just for the large bottom pot. We want the top one to hold water for the fountain.
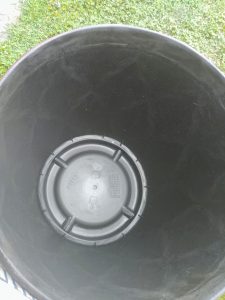
Next, place the base in and check it is level. I had an old rubber storage container with ripped handles that I placed in upside down to use as the base to stack the pots. A five gallon bucket would work great for this purpose also!
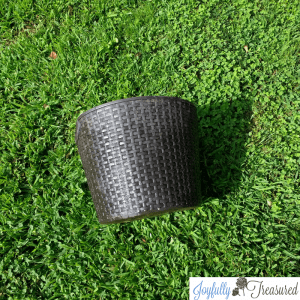
Then, fill the surrounding empty space with potting soil and add flowers. I planted white petunias because they like full sun and trail out as they grow.
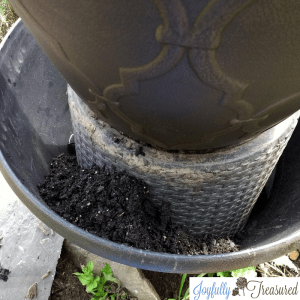
Next, place the top pot onto the base and fill it with water. We filled it to the top with our big watering can.
After I placed the solar fountain in the water, I saw it would keep the water level higher if it were stabilized in the middle to keep the water in.
Update: Many solar fountains now come with stabilizers built in since first writing this post!
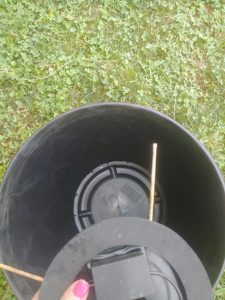
I used a wire hanger I cut with wire cutters, thinking it would work find to keep the fountain centered. I inserted four straight pieces into the foam base of the fountain in a cross pattern to hold the fountain right in the center of the water.
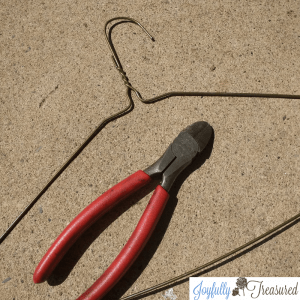
Unfortunately, the wire hanger began rusting after a couple weeks. I was worried the rust in the water would shorten the life of the fountain. So, after awhile I tried sturdy bamboo skewer sticks inserted the same way, and that has been working perfectly!
I’m sure there is also wire out there that doesn’t rust in water!
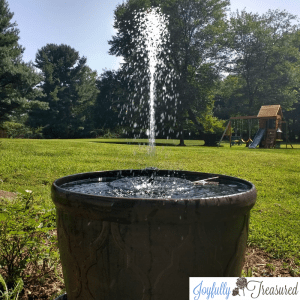
Anchoring it in the middle really minimized water loss. However, on a windy day water will still blow out just like with any fountain. I add another watering can of water once in a while to keep it full.
When it’s filled to the tippy top, water spills out very easily. I find it loses water way less often when it is about three quarters full, since a lot of the splashing as the water lands or the wind blows will stay within the pot.
Even if there is a lower water level, this fountain still works great! It just shoots up lower, so less of the fountain action is visible. When the level is low, you stop losing water to the wind completely, so I have never had the fountain run dry.
The fountain also comes with a suction cup. This gives the option of anchoring the fountain to a more shallow basin like a birdfeeder. I am hoping to find the perfect bowl that will fit inside my top pot to try it out as a bird fountain!
Update: My New Birdbath Solar Fountain Project
After seven years, my original resin fountain finally gave out, it cracked from wear and weather. I decided to try something new! I found this affordable and beautiful cement birdbath from Lowe’s that has a classic, cottage-inspired look. It’s incredibly heavy and sturdy! I did store pickup so they loaded it for me right into my trunk!

Instead of replacing the whole fountain setup, I reused my solar fountain pump from Amazon!
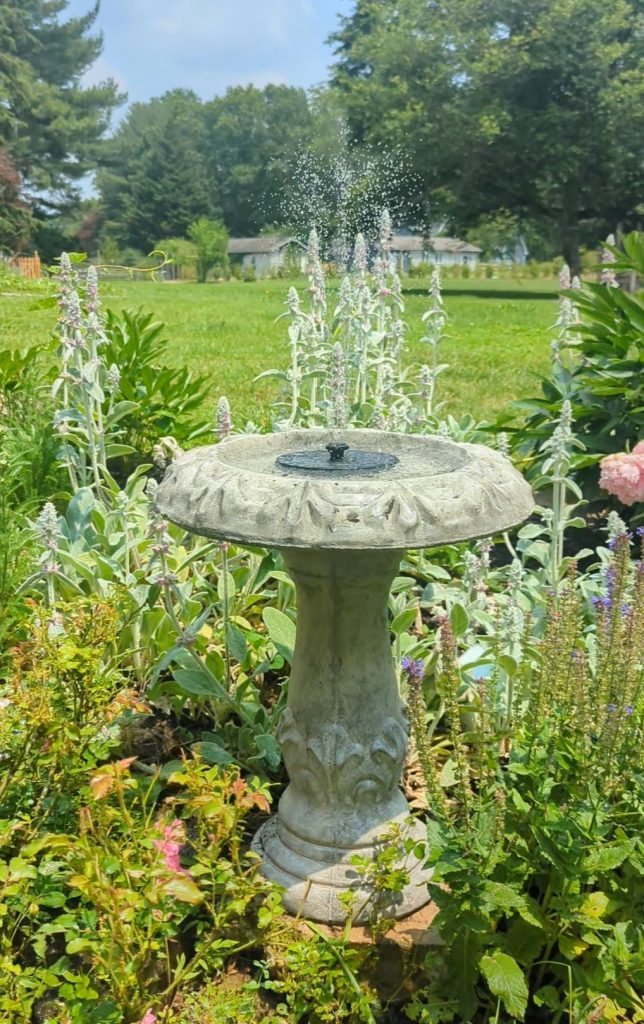
Just be sure to test the included nozzles to find the one that gently bubbles up without splashing out of your birdbath. (Have learned this over the years to keep the water in my fountain!) You can check out the birdbath here if you’re looking for an easy and budget-friendly upgrade for your garden!
This little diy solar fountain really works splendidly as long as there is some sun out.
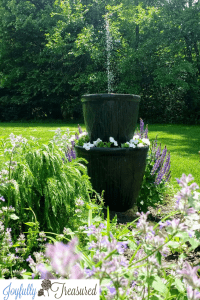
It even has a backup battery that keeps it going for awhile after the sun disappears!
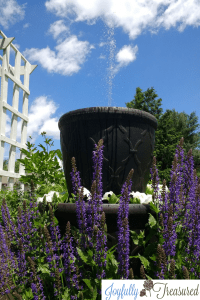
If you love the sound of splashing water like I do, or want to add a fun ornament to your garden on a budget, try out a diy solar fountain!
If you love solar yard projects, check out these solar dollar tree mason jar lanterns, or this upcycled solar chandelier!



Thank you for this tutorial on your simple fountain planter, however, I have more questions after reading it than I had before!
What do you do about the holes at the base of the planter? (as most planters come with drainage holes) Have you filled them in?
You refer to the ‘foam base of the fountain’ – what foam base? Even looking at the Amazon link to the fountain used, it doesn’t mention a foam base. Could you explain where this is? What does it look like?
Also, you mentioned affixing the fountain using bamboo skewers, but how? Aside from being to see a glimpse of this on one of your photos this isn’t clear.
Are you able to respond to my questions so that I’m able to have a go at one of these myself, I’d be very appreciative.
Thank you 😄
Hello!
Thanks for your comment! I will go outside to add a photo today of the underside of the fountain to my post so the “foam base” makes more sense! I took the photos months ago, and I always seem to take too few pictures when I get in the middle of a project! There is a foam ring around the outer base of the fountain, that makes the fountain float in water.
The pots I purchased at Lowes require you to “punch out” the holes with a punch or screw driver. I simply didn’t punch the holes on the smaller pot. I did punch the holes for the larger pot to allow drainage for the flowers. I hope this helps a bit!
I wonder if there is a way to make the top pot shallow so the birds could enjoy this? They will be attracted to the moving water, but would unfortunately drown in such deep water. I love the idea though! Now I need to find a way to make it work for my feathered friends!
I would like to try this also! I am hoping to find a deep plant saucer the perfect width to place inside for the birds.
Pingback: Deck Railing Planters with Adjustable Brackets - Joyfully Treasured
Love this idea! I live in a senior 55+ mobile home park. The outside area is very restrictive in size. This would fit perfectly in the allotted space. Thank you for your instructions.
Mark
Yay, I hope it works out great for your yard!
Thank you for sharing your beautiful fountain. I bought a solar unit that floats and received it yesterday. Your observations are very useful and will save me some time. It was difficult to make an accurate test because it was so windy.