These decoupage wood ornaments are a fun and simple craft idea to create custom themed decor for your Christmas tree!
Unique Christmas ornaments add so much beauty to the tree, but they can really get expensive, especially when purchasing several for a custom theme.
One of my favorite ways to create custom ornaments at home is decoupage. Napkins are wonderful for decoupage, like these arabesque tile ornaments.
My plan for this batch of ornaments was to resemble vintage china, so I tried out decoupaging some printables onto wood rounds, and I am happy to report that it worked well!

Decoupage Ornament Supplies
- Blue paper (printables or paper napkins)
- scissors
- 4″ wood rounds
- white sample paint or craft paint
- mod podge
- small brush
- wax paper
The patterns pictured in these how to photos are a download set I created for the Etsy shop. When I went to share this craft, I also made this set of three for the free subscriber library. These large circles also make wonderful gift tags when printed on cardstock!

(There is a link to the printable library and password in the welcome welcome email, as well as each blog email.)
First, I gave the wood rounds a quick coat of white sample paint. While that was drying, I cut out my 4″ printable circles.

Once the wood circles are dry, brush the modpodge lightly on each wood round. Then, place the printables over top, gently nudging them into place.
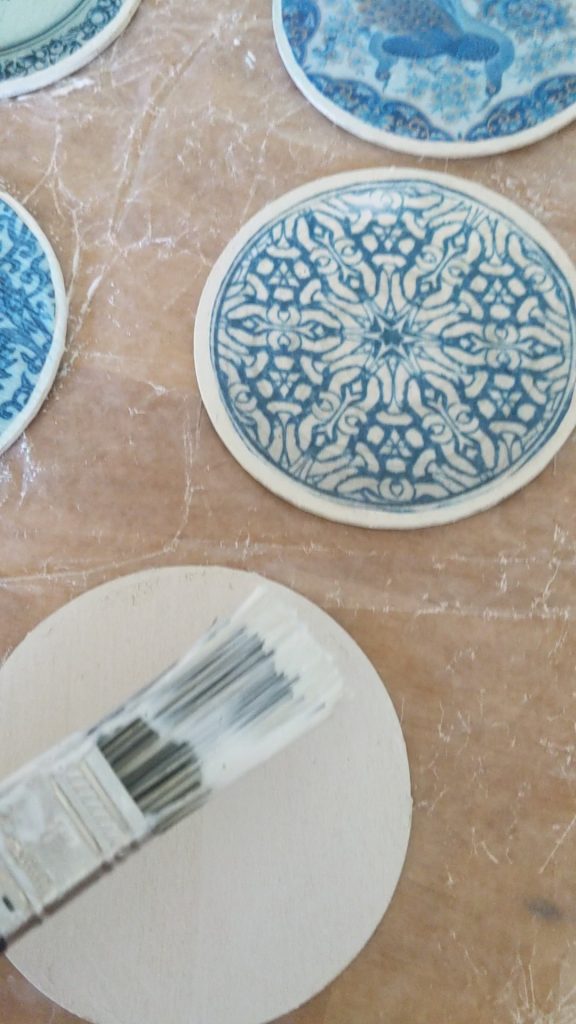
Then, I just gently brushed another coat of modpodge over top to seal it.
I was concerned that the bleeding from using inkjet printer would make this project unsuccessful. While the ink did bleed a bit as I worked, it did not affect the final project. I think the problem of ink bleeding will depend on how contrasting your printed images are.
Note: I have heard that using a spray sealer on the top will prevent ink bleeding completely. However, I did not try that method for this project.

Here, the decoupage printables are pasted to the wood, ready to dry and add ribbon.

I completely forgot to photograph the ribbon stage, but the process is the same with my other ornaments, so I used a photo from the tile ornament post!
Simply create a loop with the ribbon, and secure with a dab of hot glue.

Once your hanger has dried, the ornaments are ready to hang! If you like, you can also hot glue a bow to the front.

I will update this post with more photos of these finished ornaments when I take the tree out this year, I really dropped the “bauble”! LOL
I like to make a big batch of ornaments each year, and attach them to presents…but you can see a couple on this tree from last December!

Making ornaments is such a fun and carefree project. I enjoy a good Christmas craft, whether on my own- or doing pinecones and cinnamon ornaments with the kids!
Do you have a favorite ornament craft? I’d love to hear about it!
Related posts:
 Arabesque Tile Ornaments, DIY Handmade Christmas Ornaments with Decoupage
 Decoupage Vases with Napkins, Blue and White Chinoiserie Vase Inspired Makeover
 How to Make Coasters out of Ceramic Tiles and Napkins, Easy DIY Home Decor Craft
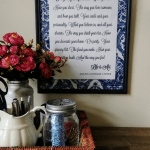 DIY Quote Art with Napkin Decoupage, Easy Dollar Tree Decor Craft Idea
Pingback: DIY Decoupage Christmas Ornaments - Easy Holiday Crafts