Upcycle arabesque tile backsplash into charming handmade christmas ornaments with this DIY tile ornament tutorial. This ornament craft is quick and easy to customize using napkin decoupage.
Between the tile coasters, the napkin vases, and various other projects…clearly I have a thing for mod podge.
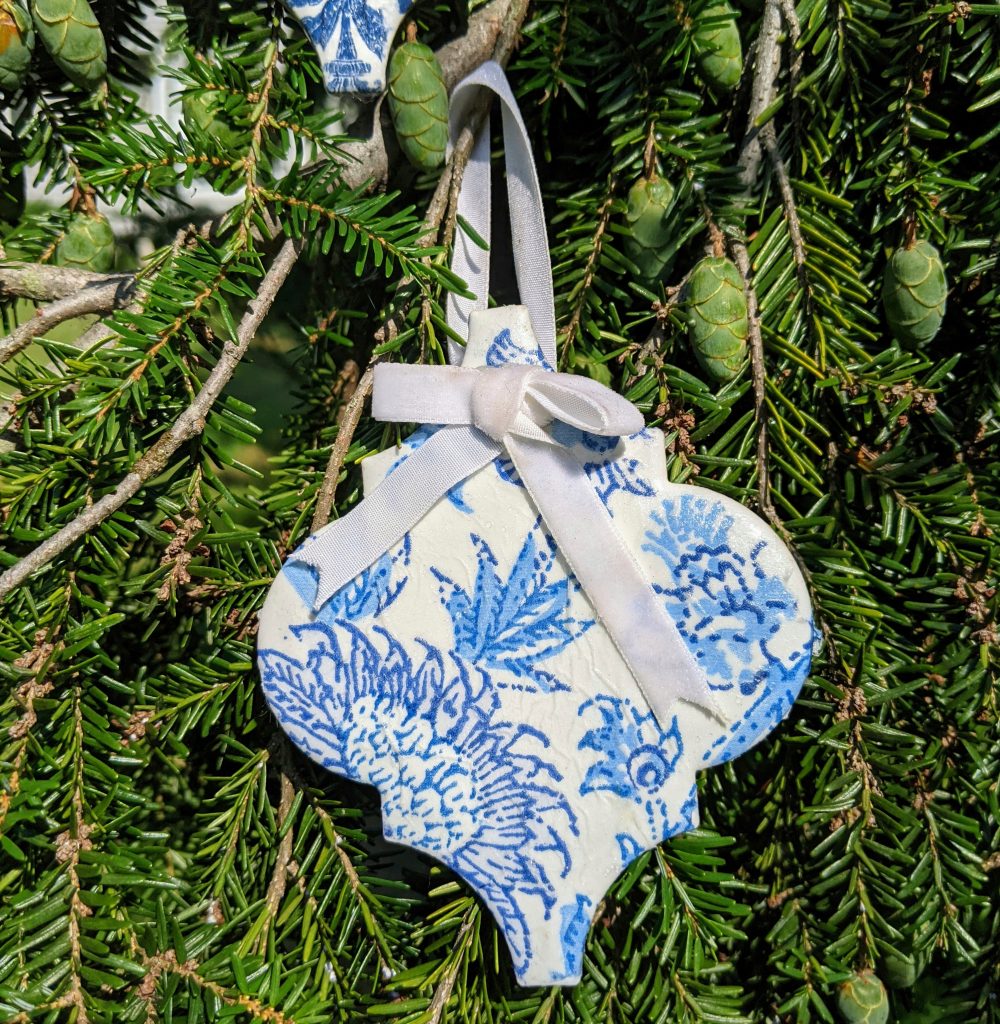
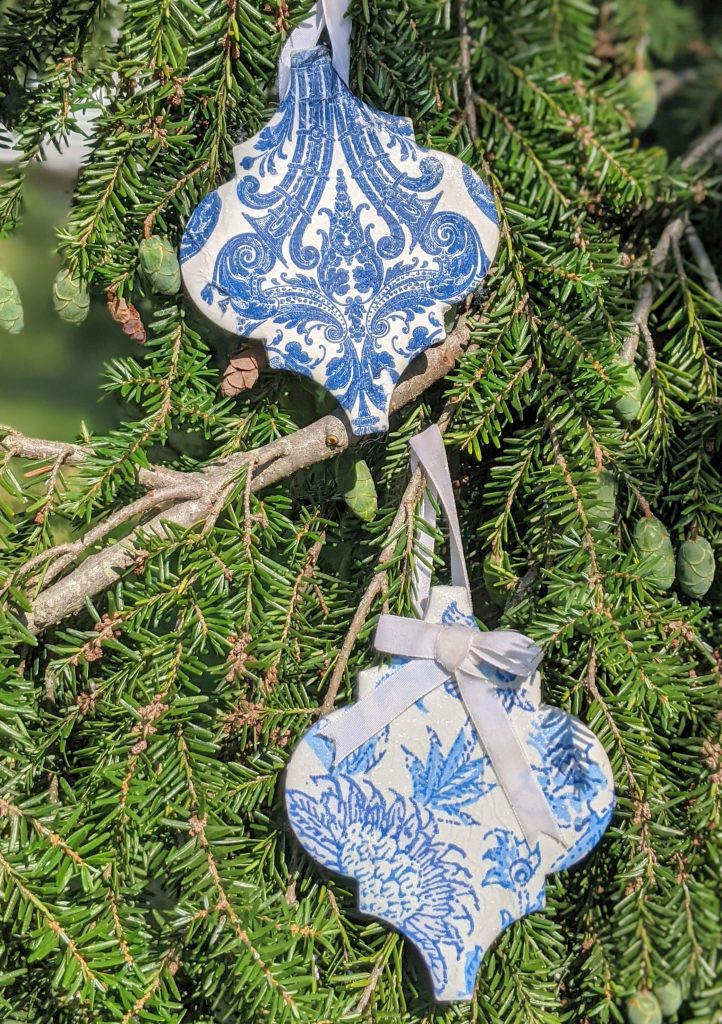
And these chinoiserie inspired decoupage tile ornaments were a fun little project to add to the list!
This craft is from last Christmas, but since I assembled them in true last minute style about mid December, I have yet to post them. I figured I would finally share them for a fun Christmas in July post, perfect to save for later if they inspire you!

These tile ornaments are made from arabesque backsplash at Lowe’s. The tiles are sold in sheets by the square foot. One sheet was $5.98, and makes 15 ornaments. It is the perfect amount to make several for the tree, ans well as some for friends and family.
I love the shape of these little tiles, they lend themselves so perfectly to ornaments. And with decoupage, you can give them any style you like.
Choose any napkin pattern to coordinate with the colors of your tree or gift wrapping. You can even add sticker letters to make names or a custom monogram! Post contains affiliate links.
Decoupage Tile Ornaments Supplies
- Sheet of arabesque tile
- Decorative Napkins (I used this one)
- Mod podge
- Small paint brush
- Plastic wrap (optional)
- Wax paper
- Hot glue gun
- ⅜” velvet Ribbon
- Felt or craft foam (optional)
Making the Ornaments
The tiles come attached to a mesh backing. So first, peel off each one.

Then, I spaced the tiles out on sheets of cardboard. (I had some issues with the tiles getting stuck to at the end, so I realized wax paper would be a better option.)

To prepare the napkins for mod podge, peel off the two ply on the underside, so you only use the top ply that has the design print.

I cut each napkin into quarters to apply to the tiles.
Next, I just took a small brush and applied a coat of mod podge to the top and sides of the tiles, very gently smoothing the napkin square over top.

If you like, you can use plastic wrap to smooth the napkin onto the tile delicately, and without getting messy fingers!
I gently cut off most of the excess, smoothing the napkin over the sides of the tile until the edges are smooth.

Once the napkin is in place, let the mod podge dry a bit. (When I try to brush more mod podge on the napkin right away while it is wet, sometimes this causes the napkin to tear. )
Then brush more mod podge over top and sides, smoothing out any bubbles or loose spots.

Once the tile ornaments are completely dry, it’s time to add a hanger!
For the hanging ribbon, I used ⅜” velvet. I made a loop and crossed it in the back, securing with hot glue.

To make a simple bow, I made two loops and tied them together.

To really make the ornaments feel polished, add a felt or foam backing by tracing the tile outline. Then, simply cut out and secure to the rough backside of the tiles with hot glue.
I did not add a backing because I was short on time, but I think using felt in a coordinating color would be beautiful!
And that’s it, such a fun and simple craft project!
With the ribbon secure, the ornaments are ready to hang on the tree, or give as gifts!
This is the fourth craft project I have completed with this same pack of napkins. One pack will really last when you are using them for decoupage!
Let me know if you’ll be making tile ornaments as decor or gifts this year!
If you enjoyed this decoupage craft idea, you might also like:


Pingback: 20 Christmas Crafts for Adults - The Frugal Navy Wife
Pingback: 21 Homemade Christmas Gift Ideas - Slay At Home Mother