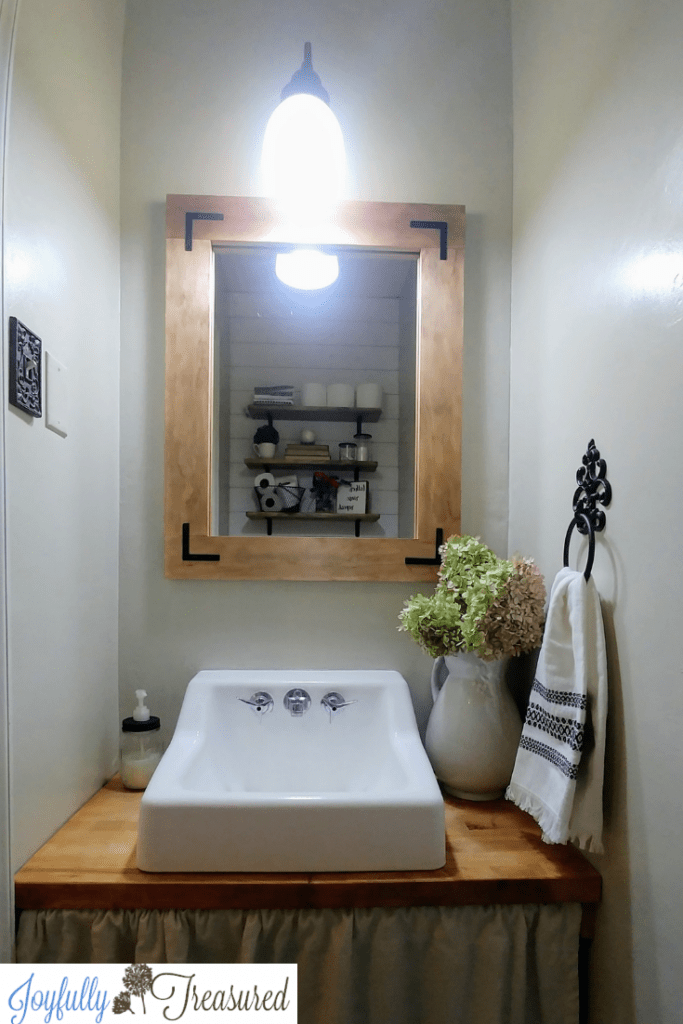
So many of us have large, plain, builder grade mirrors in our bathroom. We created a DIY wood frame mirror as part of our $100 powder room makeover, and it was such an easy way to update a boring mirror on a budget.
I love the brackets that give it a farmhouse industrial style. Plus, making it was really simple since there was no miter saw necessary!
We removed the mirror shortly after moving in, then hid it behind our dresser for years. This $100 bathroom makeover was the perfect opportunity to put it to use! The best way to stick to a budget is to use what you already have, right?
I even had L brackets left over from temporarily baby proofing the deck when we moved in. The icing on the cake was finding the perfect piece of wood at the Habitat Restore. In the end, this project was just a few dollars to assemble!
DIY Wood Frame Mirror Supplies:
- builder grade mirror ( Or, reframe a thrift store mirror or have a mirror cut. If you want to cut your mirror, you will need a glass cutter.)
- roughly 1″x4″ wood (I used just over 8′ for my 24″ x 30″ mirror)
- L brackets
- wood stain
- 1″ screws
- black spray paint
- Staple gun and staples (optional)
- mirror adhesive
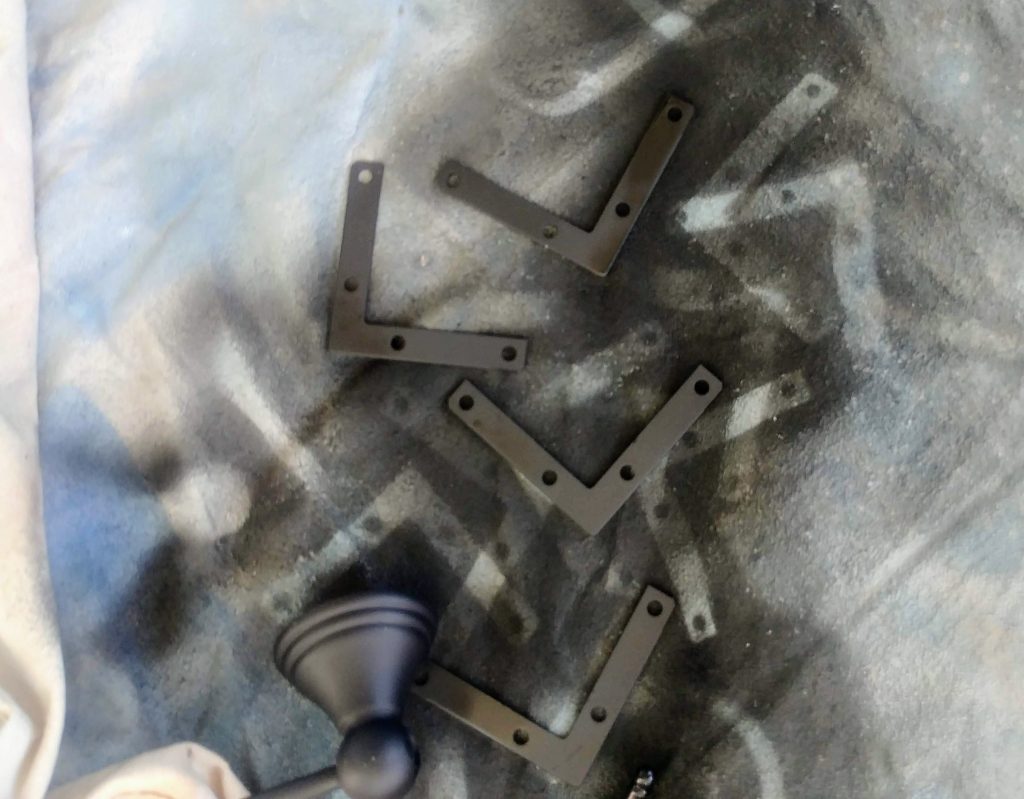
I sprayed the metal L brackets and screws with flat black spray paint.
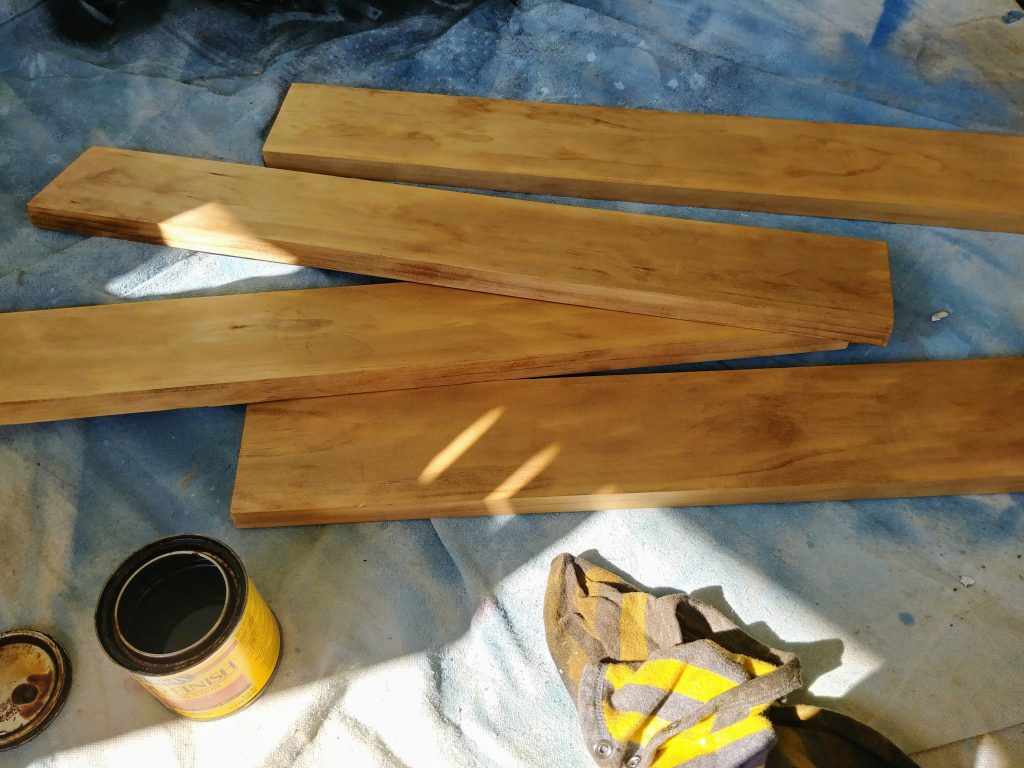
Then, we cut wood to size for our mirror frame. Since our mirror is approximately 24″×30″, I cut the pieces about 26″ and 32″.
I gave the frame pieces a couple coats of Minwax early american before assembly.
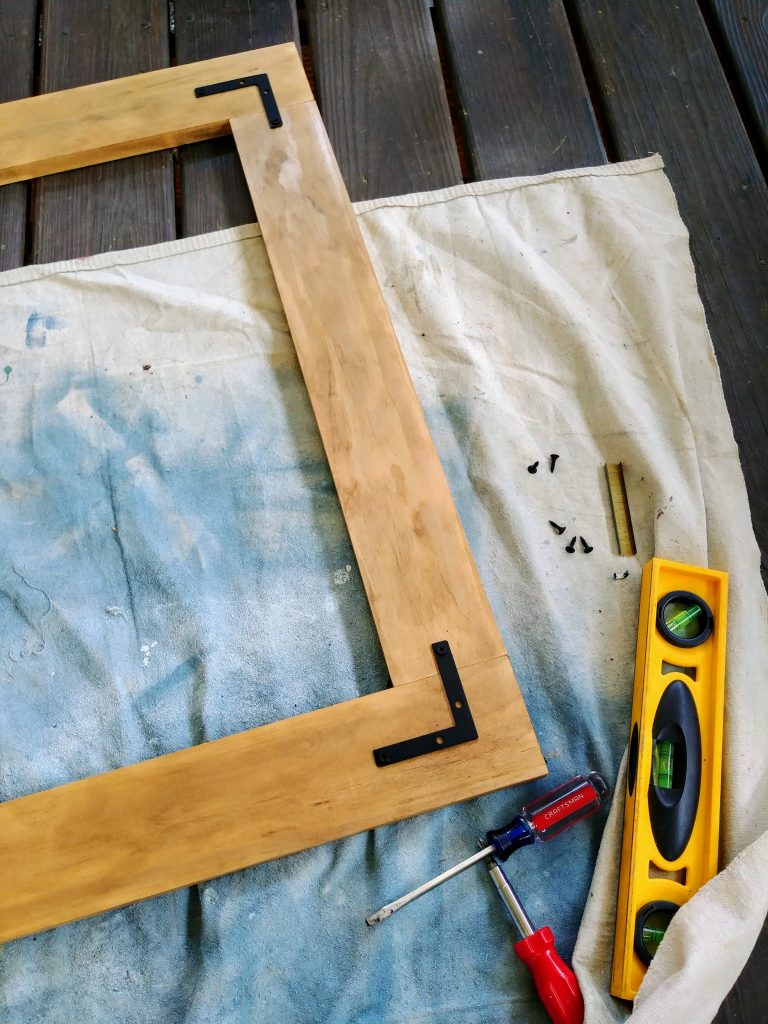
To assemble the frame, I started with a staple gun. I put the wood pieces good side down and stapled the frame together.
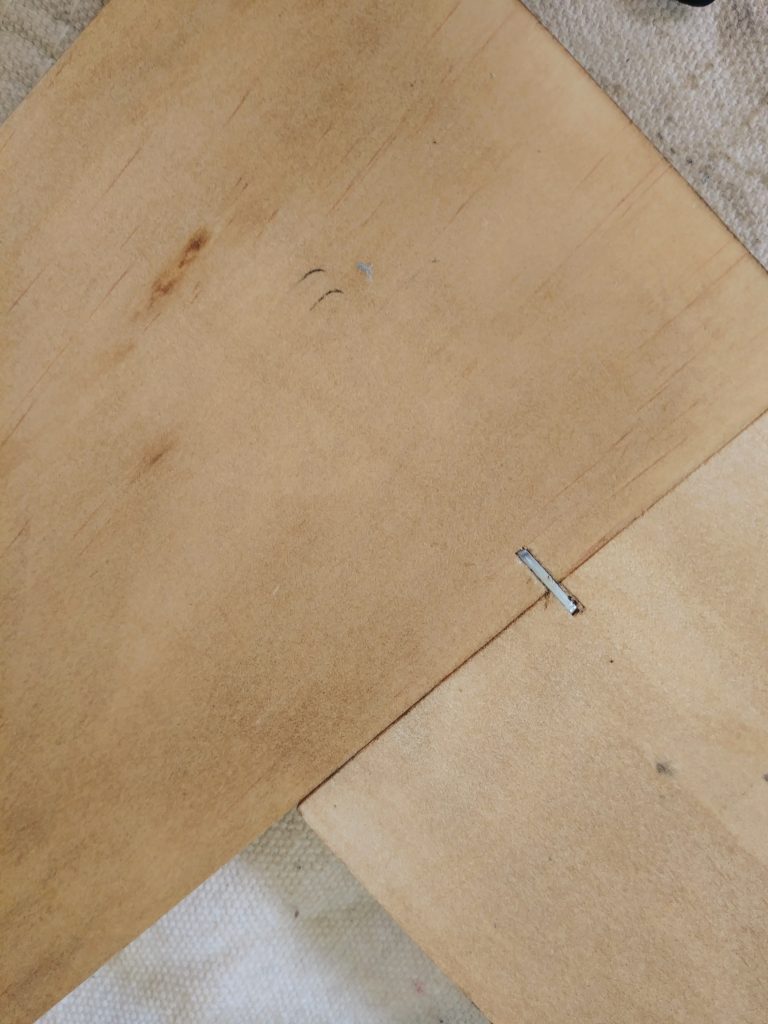
This helped keep it stable and straight while I was screwing in the brackets.
I really wanted the mirror to be a rectangle instead of a square. We purchased a simple scoring tool to cut the mirror to the right size. After measuring out the line, we clamped a large square ruler to the mirror to create the cut line.
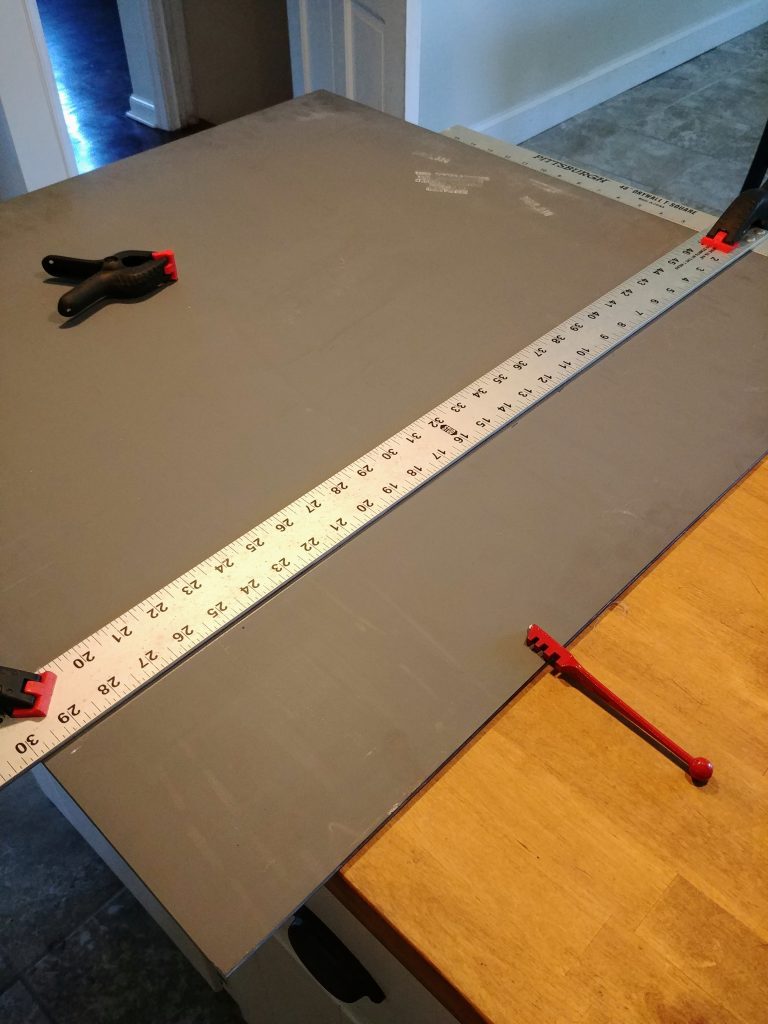
Carefully putting pressure on the mirror, we scored along the cut line. Jason took it out on the deck to snap it. (Of course I forgot pictures!)
I have to be honest, cracking the mirror was nervewracking!
Our old mirror was very thick. While it definitely wasn’t a perfect cut, it was relatively straight. Since we were covering it with the wood frame anyway, it worked great for us!
We taped off the rough edge to prevent any accidental hand slicing before we installed the frame.
Since this was an upcycled sheet mirror and not an old wall mirror. I wasn’t sure how to safely mount any hanging hardware to the back.
Our solution was to mount the mirror to the wall before adding the wood frame. We mounted it like a sheet mirror, but used washers to keep it fairly flush to the wall.
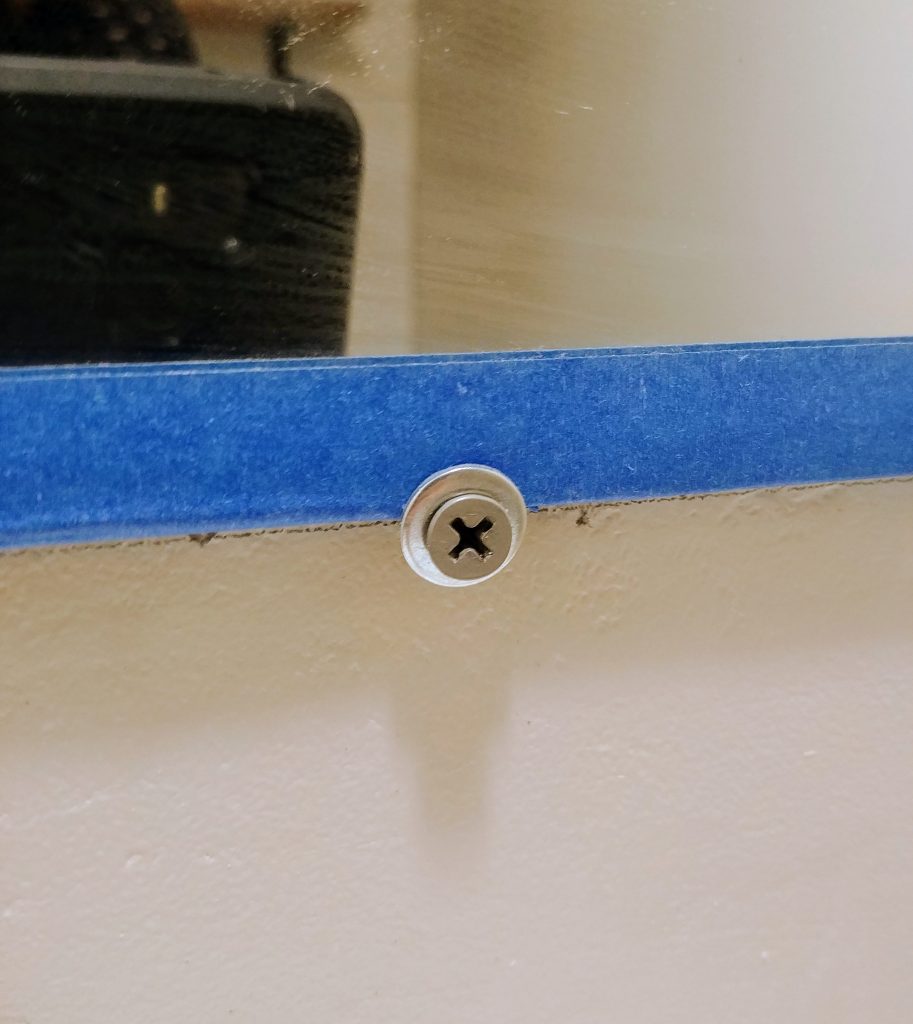
Here it is mounted to the wall. Next, we installed the frame.
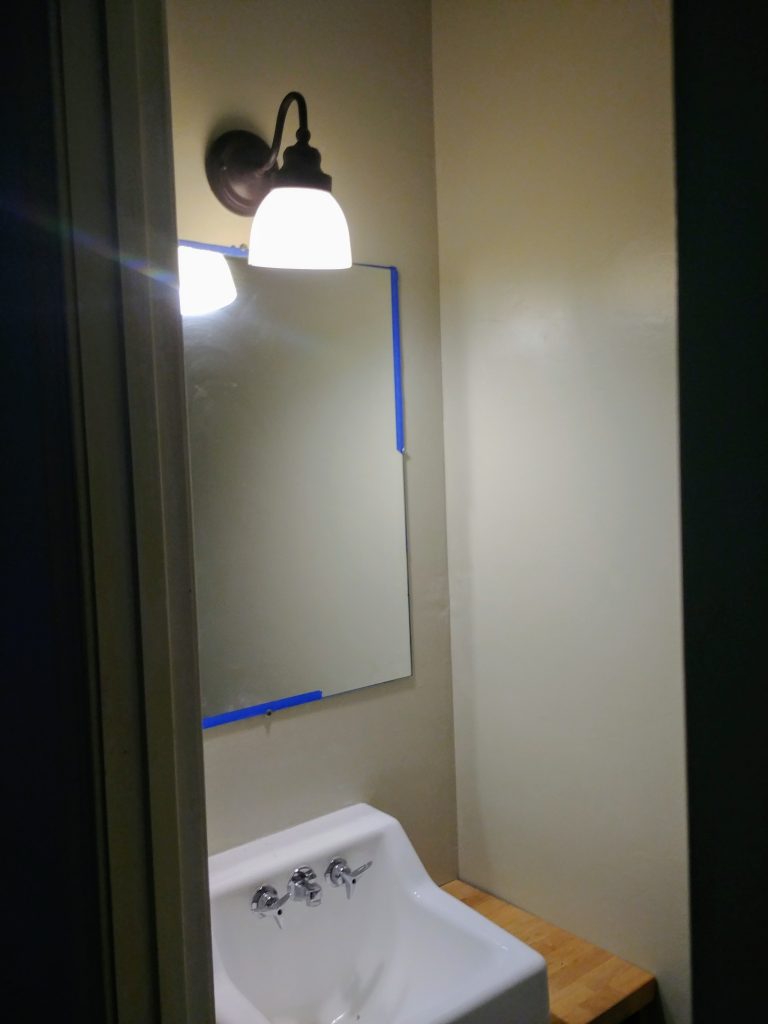
To install the wood frame, I applied the mirror adhesive in a wavy pattern along the entire back of the frame, leaving a little space from the edge. We positioned it onto the sheet mirror. Jason held it in place a few minutes while I went crazy taping it. I was afraid it would fall off the wall before the glue dried, can you tell??? In hindsight, I’m not really sure that painters tape would help much anyway!
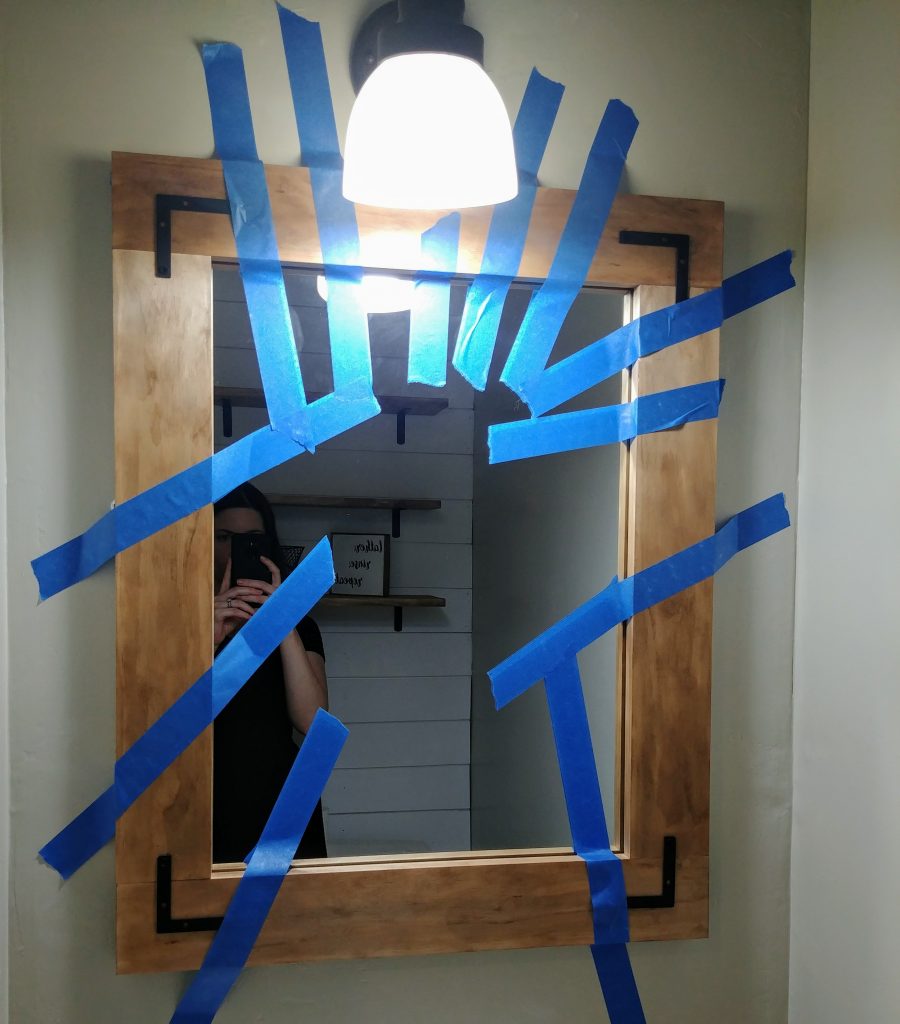
But, the adhesive did it’s job perfectly…I really was worried for nothing!
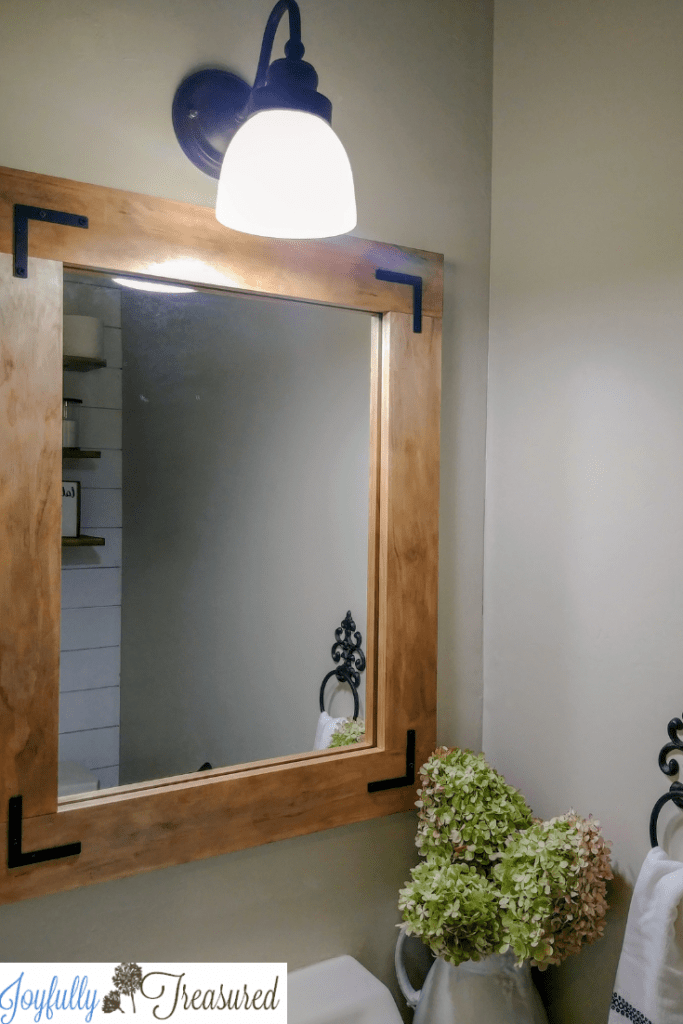
Here is the finished mirror in our bathroom. This project was lots of fun, and easily finished in one afternoon!
For more budget friendly bathroom ideas, have a look at these DIY open shelves above the toilet, as well as the complete $100 bathroom makeover!


Pingback: 20 DIY Bathroom Makeover Projects – Home and Garden
Pingback: 20 DIY Bathroom Makeover Projects - INFO2EARN
Pingback: DiscoverNet | 5 Easy Ways To Upgrade Your Frameless Bathroom Mirror