It’s week 2 of the $100 room challenge, and the very first thing I did this week was to paint the bathroom sink white.
I have been so curious about painting tubs, sinks, and tile surrounds since we purchased our fixer upper a few years ago. The powder room has just a small wall mount sink, so it seemed like the perfect way to try it out and see how it goes. Post may contain affiliate links.
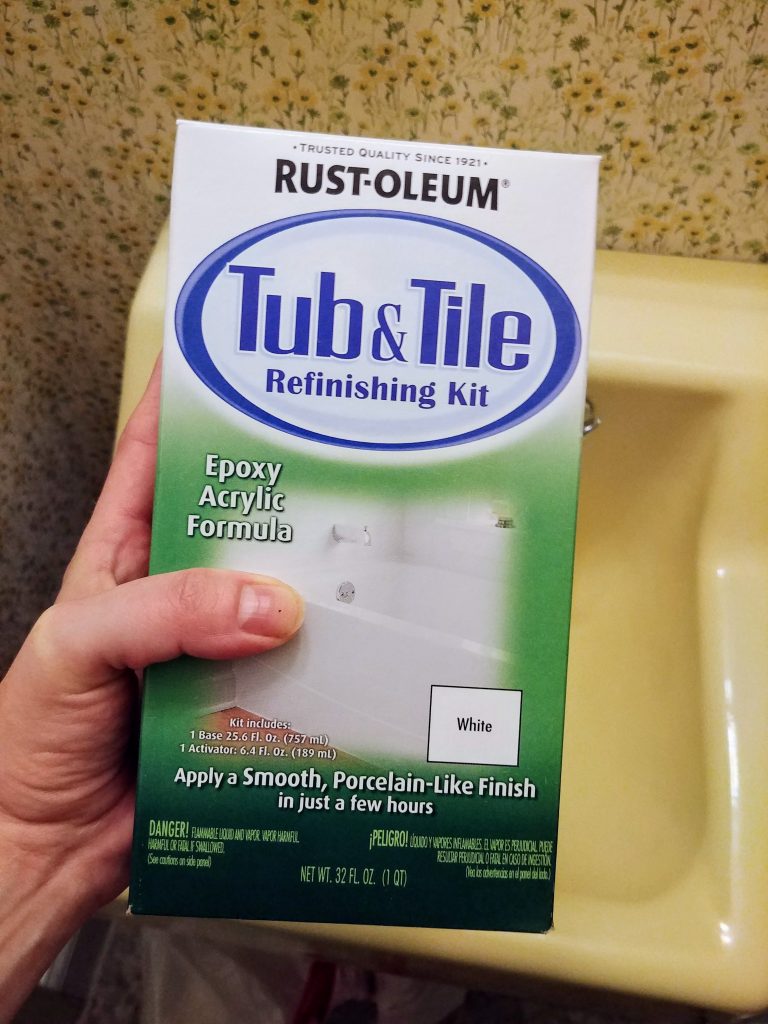
The paint kit I used is the Rustoleum Tub and Tile Refinishing Kit. It is a two part epoxy acrylic formula that mixes together to make an extremely durable finish. Overall, the process was simple and required mostly basic supplies.
Supplies
- Rustoleum Tub and Tile Kit
- High Density Foam Rollers (or a paint brush)
- Paint stick for mixing
- Measuring cup (I used a cheap plastic one)
- Sand paper/ sanding block (I used 80 and 140 grit)
- Cleaner such as comet
- Scouring pad
- Painters tape
- Gloves and face mask (If you are doing a large area and ventilation is not excellent, I HIGHLY recommend a respirator.)
Before I could paint the bathroom sink, it needed to be cleaned and sanded. The prep work honestly felt harder than the actual painting. I wanted to be as thorough as possible so this paint job would last awhile.
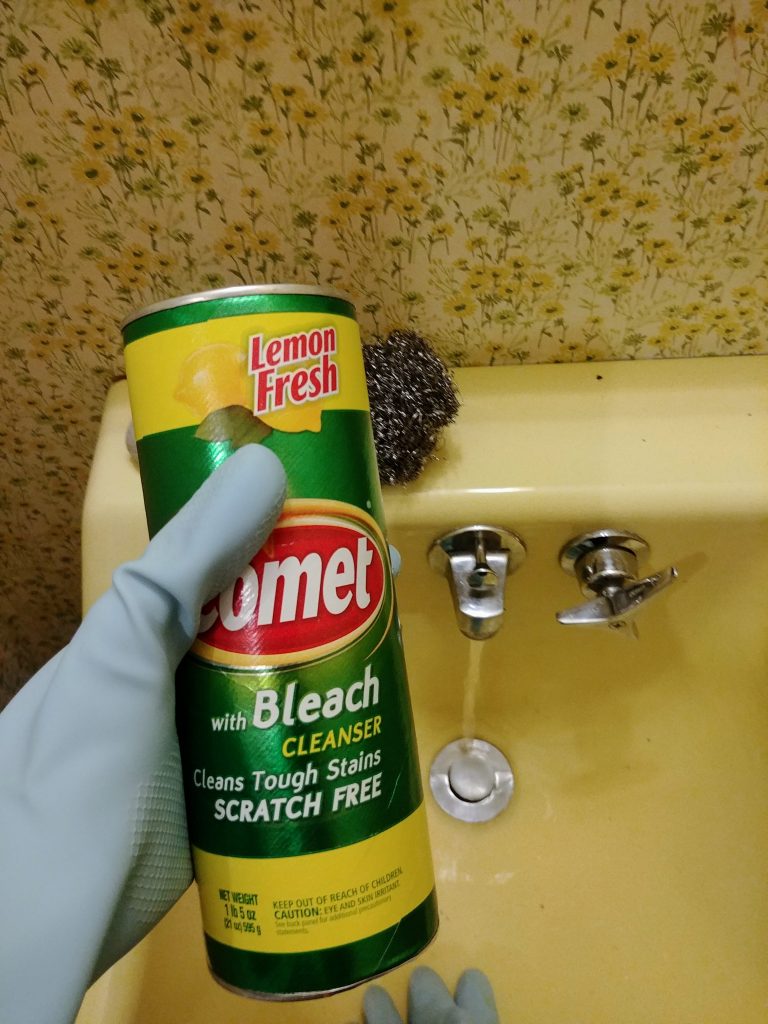
Step 1: Thoroughly Clean the Sink
I started out by giving the sink a thorough cleaning. Using comet and a scouring scrubbie, I scrubbed it harder than I ever have before. After cleaning both inside and out, I rinsed it thoroughly.
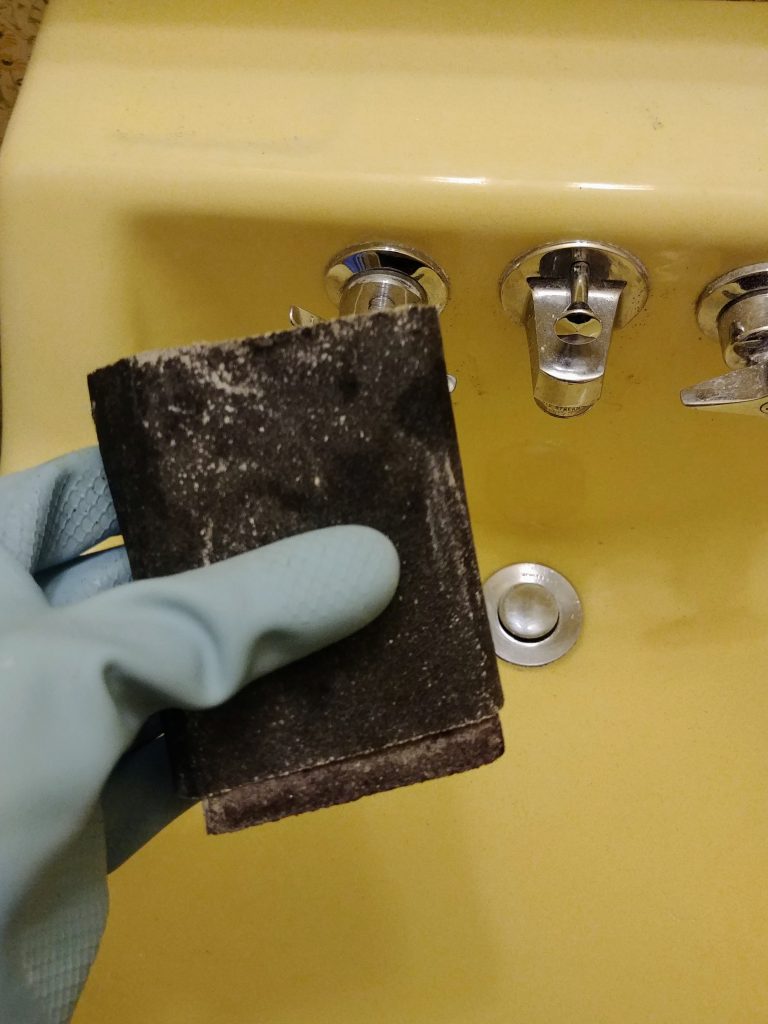
Step 2. Sand the Sink
Then came time to sand. The directions said to sand with 600-800 grit sandpaper, and I tried that out first. It really didn’t seem to rough up or dull the surface enough. I wanted the surface to have some tooth for the paint to grip to.
So, I used 80 grit, followed by 140 grit. I used a sanding sponge first, then wrapped the other sandpaper around the sponge. The sponge actually worked out well because I could squeeze into the curved spots and around the faucets. I could tell the sanding job was thorough, because the once shiny surface looked dull. There was a slight roughness when I slid my hand over the surface. That way, I could tell which areas needed a little more sanding.
After sanding, I rinsed out the sink and removed the faucet knobs so the water wouldn’t accidentally get turned on. The directions say to let it dry at least 90 minutes before painting, so I came back to it later. Any residual water could cause issues with the paint adhering well.
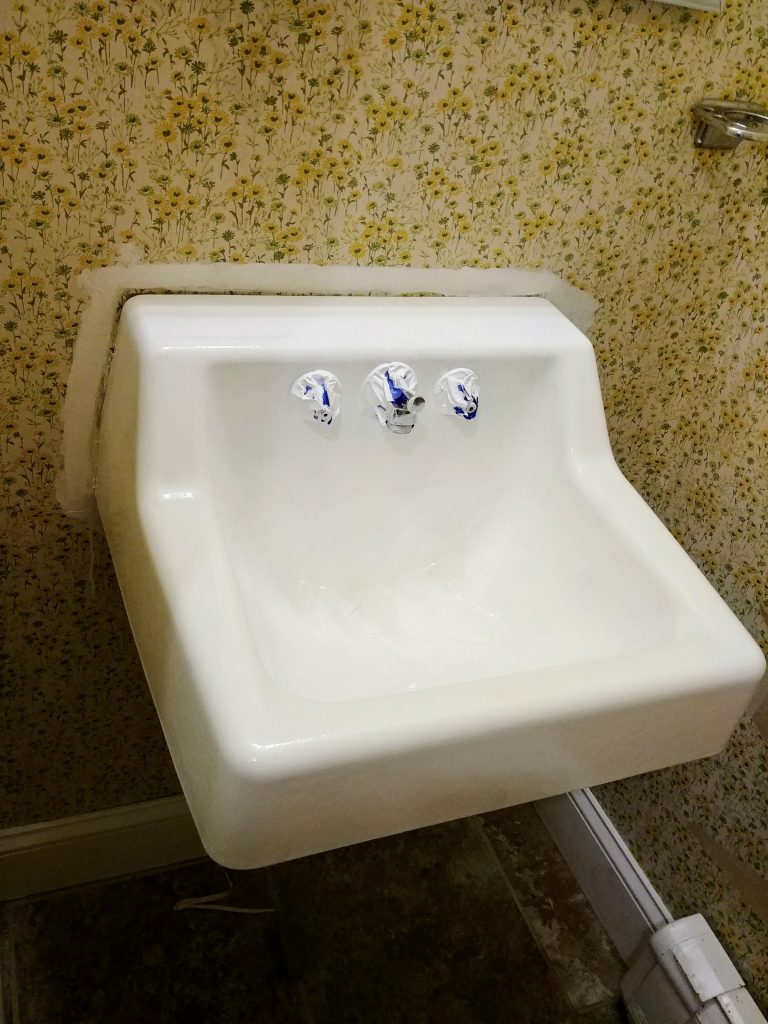
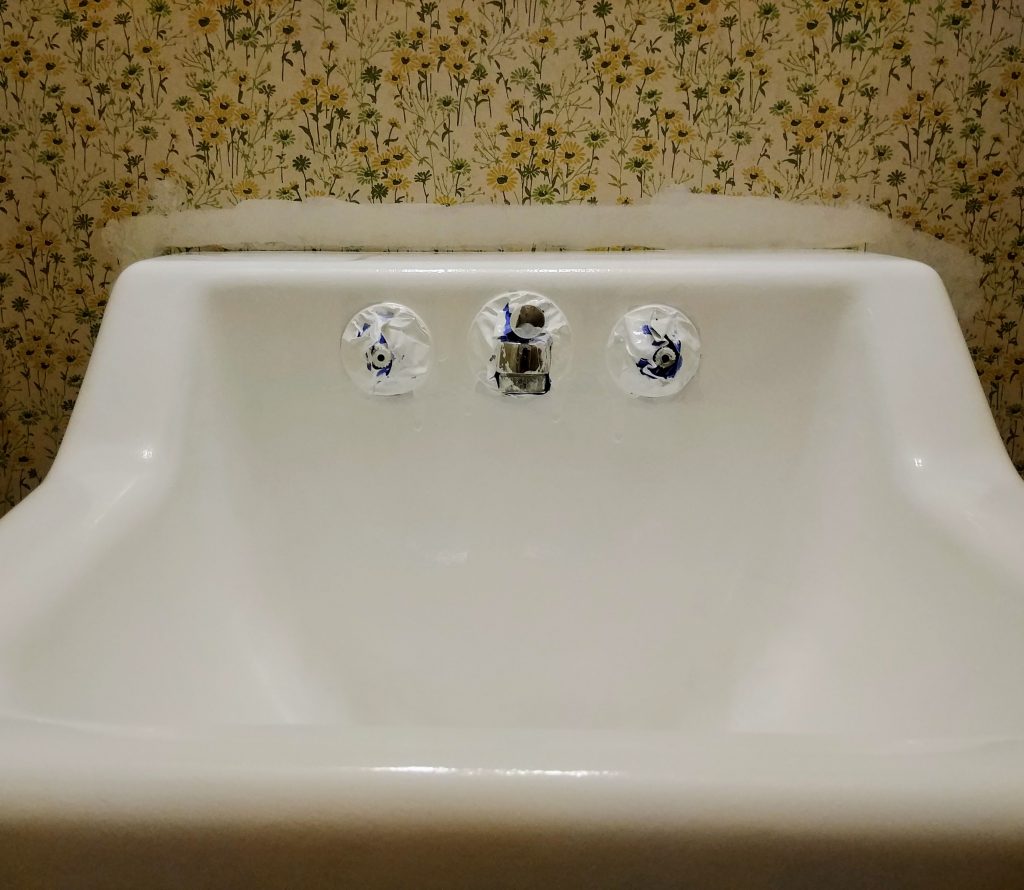
Step 3. Prep the Space
After the sink was thoroughly dry, I taped the faucet, handles, drain, and overflow hole with painters tape. It is super important to tape only the metal parts and not over top of the sink. It would be better to get a tiny bit of paint on the metal drain, then to have the paint not completely cover and seal to the very edge.
Then, I set up the fan in the hall across from the screen door for ventilation. I had it blowing toward the screen door, so it was pulling air out of the bathroom. Definitely didn’t want to blow dust on my paint job.
Step 4: (Finally) Time to Paint the Bathroom Sink!
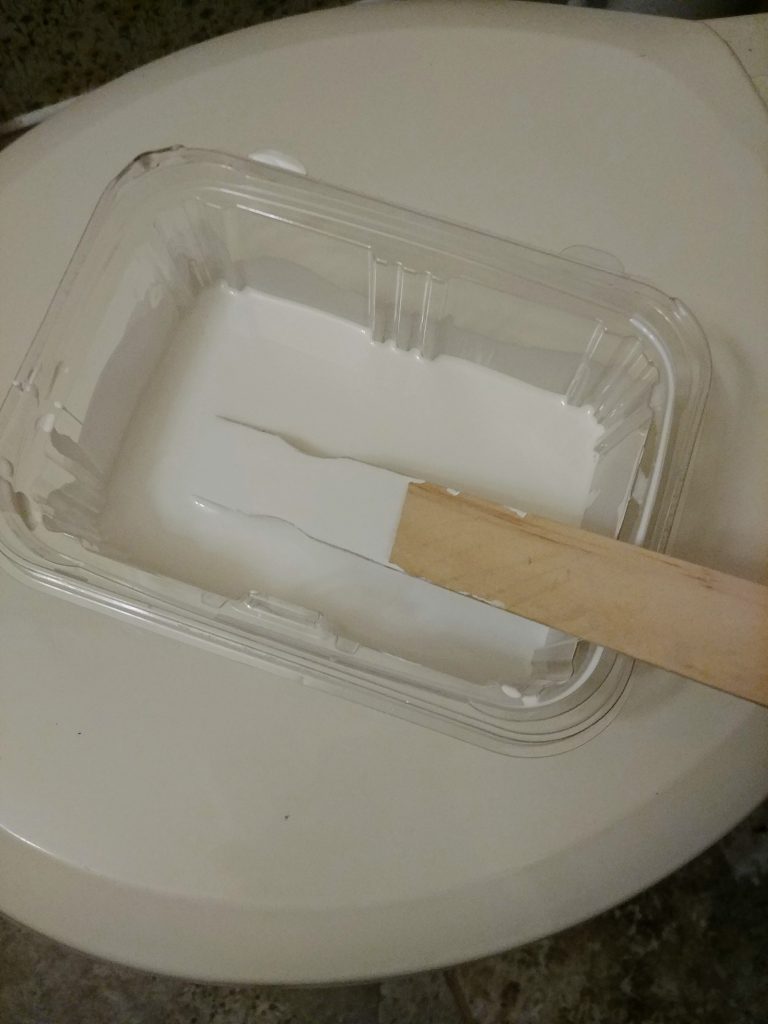
Next, mix the paint. If you are doing a large project like a tub, you will probably use all of the paint. So, you can mix the small Part A can directly into the larger Part B can.
Or, you can mix the parts in a ratio of 1 to 4. I used a small plastic measuring cup to mix about one cup of Part B with a quarter cup part A. This looked to be about a third of the can. I just mixed it in a disposable container. Let me warn you…even with proper ventilation, this stuff STINKS! If I use this again in the larger upstairs bathroom, i will definitely use a respirator.

After all that, we can finally paint! I used a high density foam roller to apply the paint to the sink. The paint felt very thin, but it went on smooth with great coverage.
One thing about the roller: after the roller is in the paint awhile, like with the second coat, you have to watch for tiny pieces of sponge getting into your smooth perfect finish. I would use a new roller with each coat if I was doing this project again.
Here is the sink after the first coat.
It looks almost completely white in the photo, but you could definitely still see some yellow tint showing through. As per the directions on the can, I did a second coat about 90 minutes later around 10 pm…and went to bed.
The next morning, I saw that it would need a third coat just to cover a few shadows of the old yellow. I sat down on the toilet to look at it closer, and saw DRIPS! Look under the faucet in this photo, and you will see them too.That’s what happens when you rush something right before bed.
On the bright side, I can now share how to go about fixing drips if this happens to you! Since I needed a third coat anyway, I decided to sand down the drips before mixing up the final coat of paint. The paint dried to a hard enamel even after less than 24 hours, so sanding was no problem. With a little elbow grease, it was smooth again.
I mixed the third coat of paint and applied it, this time with a brush. I didn’t have another foam roller on hand, and the can has instructions for both. Even with the slight disintegration issues, the roller was the best by far. This paint is supposed to be self leveling, but I was still battling brush marks using a paint brush.
Here it is after the final coat.
I really love how this sink turned out. Honestly, I always thought it was a very cute sink, except for the golden yellow part!
The rest of the bathroom just needs to get with the program! I am already looking forward to (hopefully) updating this post with some beautiful “after” photos in a few weeks.
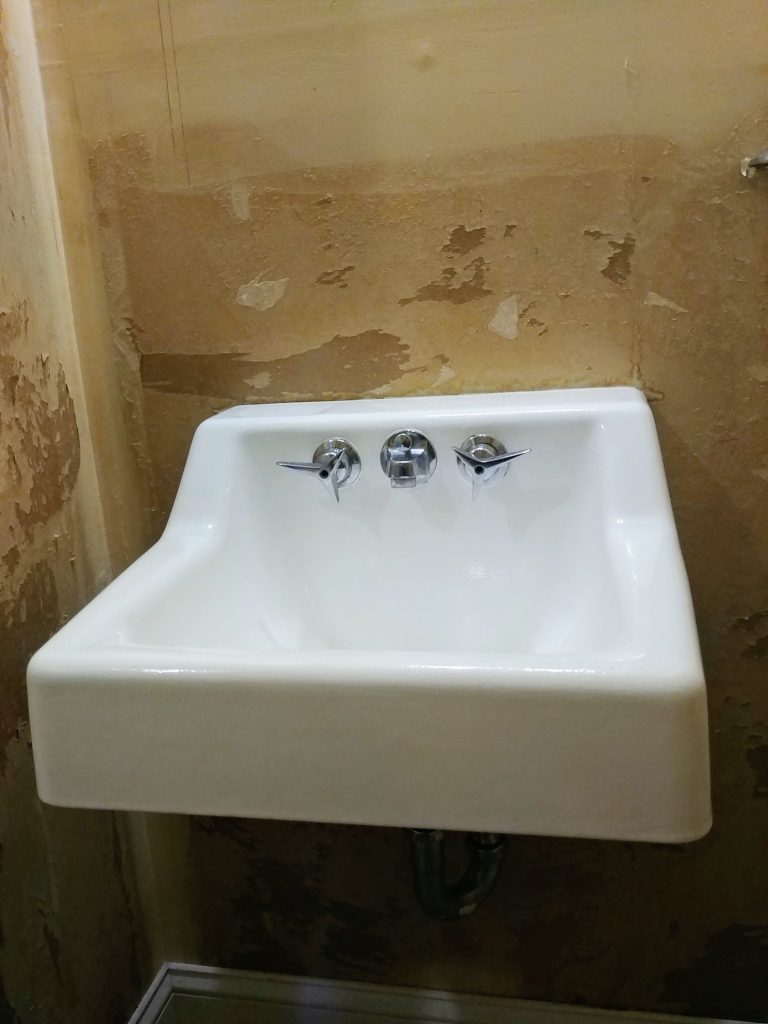
Are you wondering about the torn up wall behind? We quickly discovered that the wallpaper was applied directly over unprimered drywall. The sheetrock paper ripped all over the place. It was not fun.
Right now, we are in the process of skim coating much of the bathroom. That was definitely not part of the plan! Hopefully, I can still finish the challenge on time!
Update: We did it! I am so happy how this sink area turned out! It was my favorite part of our whole little bathroom update.

We put together two small scrap pieces of butcher block to make a counter top underneath and I added a simple sink skirt by hemming an old curtain. It was simple, but along with the paint, it completely transformed this little sink! See the full powder room makeover here!
$100 Room Challenge Week 2 Update
Luckily, I had an extra foam roller and some paint supplies from other projects. So far, here is what we’ve spent on the $100 Room Challenge:
- Rustoleum Tub an Tile Kit: $23.68
- Spackle $7.45
Total: $31.13
Check out the other weeks of this challenge below!
Many incredible bloggers are transforming spaces for this challenge. See the link up below for some amazing inspiration!

It is looking great! Your sink looks so cute now and all shiny and bright! I have wondered about those kits too because my bathroom tub is more of an “almond” color and not bright white! It looks like it is WELL worth the cost and effort!
Joy wow you’re really bookin it with the bathroom. It is going to look so nice when you are done. I can tell the wallpaper is down. I bet that was a job itself. Good job with the sink color. It looks like it is brand new.
Thank you Terrie! The wallpaper was the worst because it was glued to the drywall. I was spackling a lot today!
Girl, you have just knocked my flip flops off! It looks amazing! I am so excited to see this transformation!!!!! Great tutorial too. Pinned!
Aww, thank you so much Cindy!
Looks really great! I have always wondered about the refinishing product. I have a bathroom sink that could benefit. I have been unable to find any 6 month/1 year follow up posts though on how it wears over time. Would love to hear an update down the road.
Wow it’s amazing how different your sink looks! (Great tutorial.) I’ve been working with rustoleum’s countertop paint this week and I’m loving it too.
Pingback: DIY Dollar Tree Decor Craft, $1 Farmhouse Bathroom Sign - Joyfully Treasured
Pingback: $100 Room Challenge: Powder Room Reveal - Joyfully Treasured