Painting metal furniture is a budget-friendly way to refresh your space. Whether you’re tackling a rusty patio table or giving a fresh look to an old indoor piece, this step-by-step guide will help you get professional-looking results that last.
Upcycling furniture (or random objects!) is one of my recipes for a fun afternoon! Painting metal furniture is especially rewarding. The quick and easy transformation you can create on some slightly rusty junk feels borderline magical!
This week, I finished painting some metal furniture for our basement. We have been sprucing up the semi-finished basement, and it was in need of more furniture. Luckily, inspiration struck on a family visit to Grandma’s house!
My Mother-in-law has had this old metal table and a lone matching stool stored up in her spare room for ages that she no longer wanted. It occurred to me that both would be perfect to upcycle into basement furniture.

I brought them home, and got to work. Happily, painting metal is a relatively simple process! Post may contain affiliate links.
Methods for Painting Metal
Metal furniture can be painted with spray paint, or with a brush.
I find spray paint is the best way to paint metal furniture, under ideal circumstances. It creates a smooth, durable finish, even in the nooks and crannies!
Since spray paint is oil based, it generally has better adhesion than a typical latex paint. That makes me happy, as I can get away with a bit less preparation, and still have my project turn out beautiful!
However, for indoor furniture or project that cannot be moved out of doors, painting with a brush is a good option. With thorough prep, it will come out beautiful and durable!
I use spray paint in this makeover. But, I thought it would be helpful to also explain the process to paint metal using a brush as well, in case you are planning to paint metal furniture indoors.
Painting Metal Supplies
- Degreasing Cleaner
- Steel Wool Scrubber
- Deglosser (optional) Deglosser is a great idea if your metal piece has a shiny varnished or painted finish.
- Drop Cloth
- Sandpaper
- Paint and Primer Spray Paint (for spray painting)
- Adhesion Primer (optional, brush-on or spray)
- Latex Paint (for brush painting)
- Small brush (for brush painting)
A Simple Method to Spray Paint Metal Furniture
The bar table and stool top had a sort of patterned resin epoxy top, which I did not want to keep. So first, I unscrewed the tops from the base.

We also used a hand saw to remove the middle ring of the stool, as we want to upcycle it into a small side table.

Once that was complete, it was time to prep the metal for paint!
How to Prep Metal Furniture for Spray Paint
When painting metal furniture, the prep is pretty much the same whether using a brush or spray painting.
Deep Clean
Whatever way you use to prep metal for paint, start by giving everything a good cleaning. I scrubbed this metal furniture with a degreasing cleaner and a steel wool scrubber to remove any loose rust, oil, and grime. Then, I rinsed thoroughly with a wet cloth and let dry completely.

Is the metal you are going to paint smooth and glossy?
High shine finishes benefit from some extra prep, just to be sure the paint will stick in the long term! A few options are deglosser, sanding, and an adhesion primer.
Degloss
With glossy painted or coated metal, I like to wipe on a coat of deglosser with a rag to dull the finish to help the paint adhere well.
I used deglosser when I painted the shiny coated metal mounts for our arbor five years ago, and that paint is still holding up great in the outdoor elements!
Deglosser also works well to prep metal that will frequently be handled, like doorknobs!

Sand
Another option to prep a glossy finish is using a medium fine grit sandpaper to rough up the smooth surface. Even a light sanding can make a huge difference in how durable the top coat will be.
Prime
To prep the surface more thoroughly, you can apply a light coat of gripping primer, such as Kilz. This type of primer is available both as a water based paint and a spray paint.
How Much Prep is Really Needed?
Brush Painting: When painting smooth surfaces with a brush, I have learned to always clean, lightly sand, and prime.
This lesson was reinforced recently on my IKEA laminate furniture painting adventure in the office. The moral of the story, don’t try to get away without lightly sanding, no matter what amazing no sand results the can of primer may promise!
Spray Paint Prep: You can prep using one of these options or all, depending on how heavily the piece will be used.
For example, I degloss, sand AND prime before painting door knobs and faucets. They will be touched every day, and the paint needs to be incredibly durable!
I am much more relaxed about prep with things like a decorative vase or table legs. It is less of a concern when a piece is not getting handled frequently. Most of the time, spray paint will be durable all on its own as long as the surface is clean!
On this table and stool, the metal finish was slightly matte and textured. I could tell it would take the spray paint well as long as it was clean. So, I did not bother to sand or degloss.
After cleaning and drying, my table bases are ready for paint!
Spray Painting Metal
Give the can a good shake before and during application. I do my best to apply the spray paint in light coats, using long sweeping strokes to avoid drips.
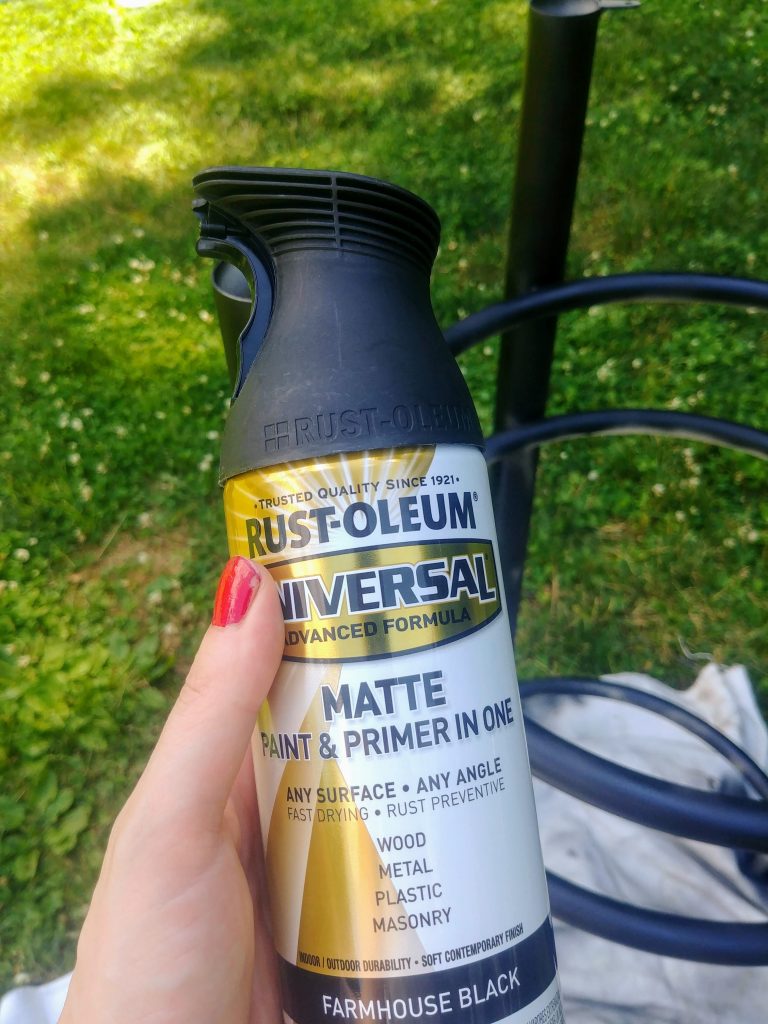
I really enjoy using this Rustoleum Universal spray paint. It comes out so smooth, and the lever is user friendly. It is a small luxury to avoid the spray painting finger cramps!
To completely cover my table bases, I used three thin coats of spray paint.
Paint Metal Furniture with a Brush
Once your piece is all cleaned and prepped, it is time to paint!
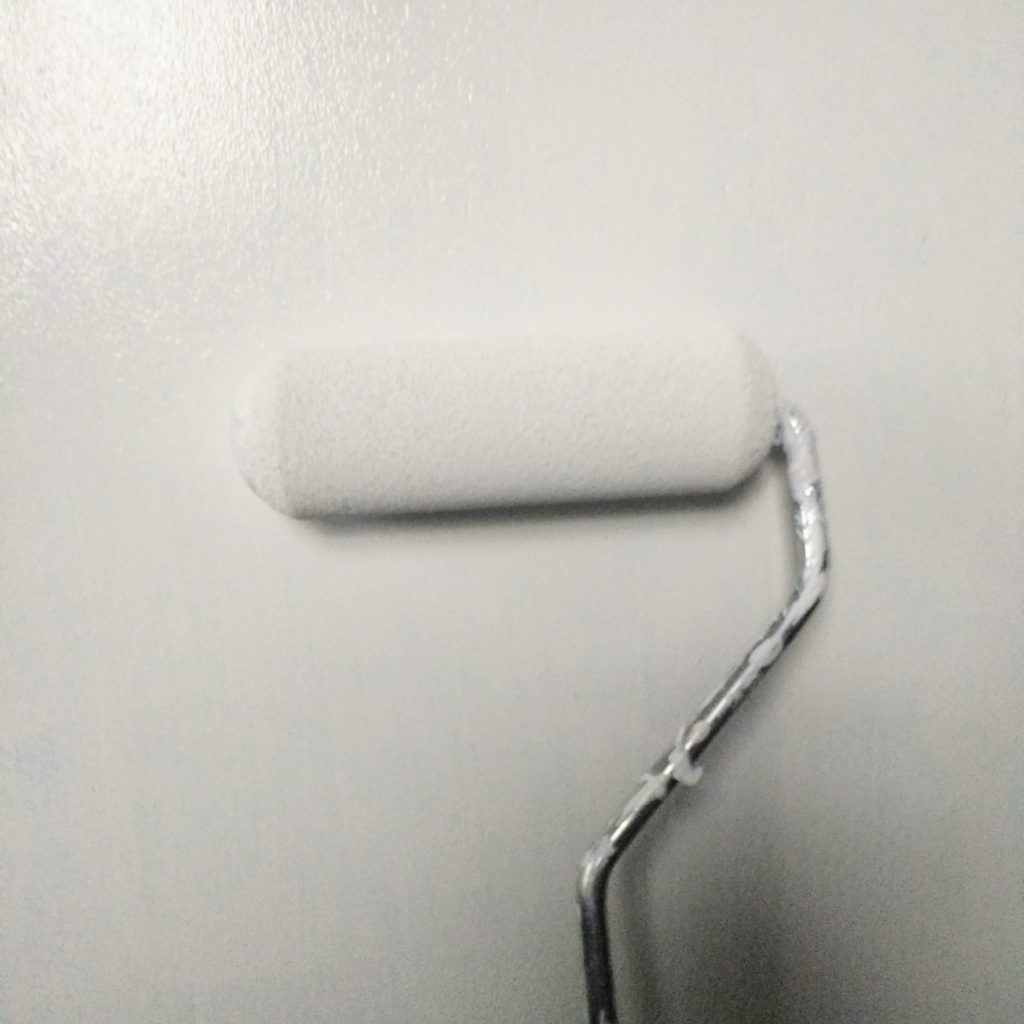
First, apply the base of 1-2 coats of an adhesion primer like Kilz or Gripper. If the metal furniture has large flat areas, I prefer a foam roller over a brush. A small foam roller is a huge help with getting a smooth finish!
For areas with lots of grooves or hard to reach areas, I like to use a small brush. Multiple thin coats are better than one thick coat, as it is easier minimize drips and brush marks.
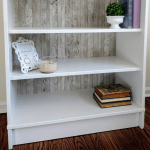
Assembling the Basement Tables
After the bases were painted, I was so excited to get the table tops mounted!
For the side table, I purchased two ready made pine rounds from Lowe’s. They have several standard sizes in stock.

I gave them a light coat of dark walnut stain, and a coat of satin polyurethane.

For the large table top, we were very lucky! A neighbor offered up a free lightly scratched table top on our local yard sale site.
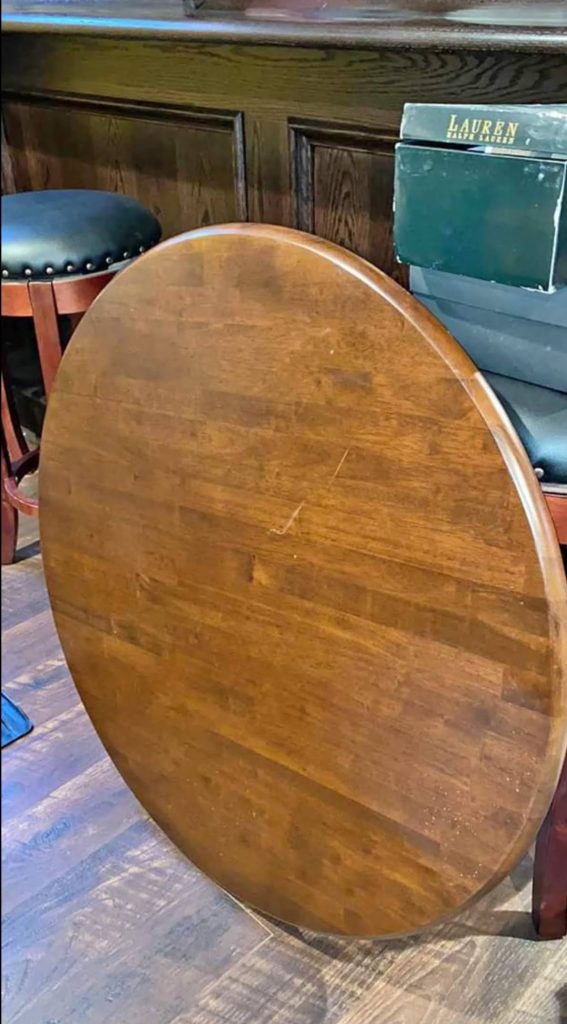
All it needed was a tiny bit of stain over the scratch to look like new. We used wood screws to attach the bases to the tables, and our project is complete!
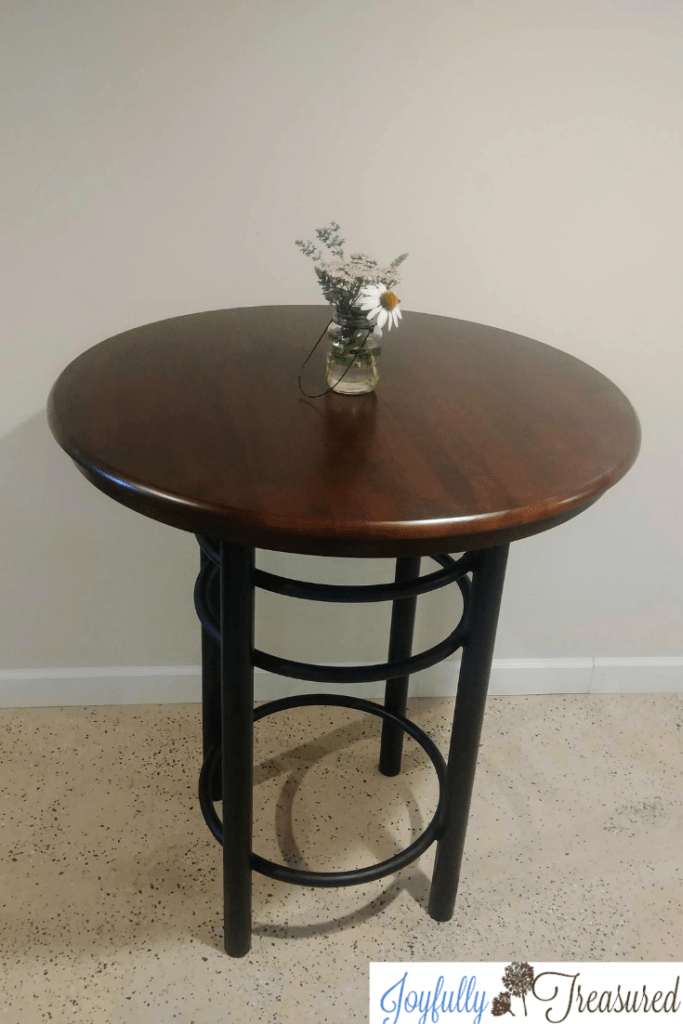
I really love how they turned out! I already had some stain on hand, so the makeover for both tables was about $25!
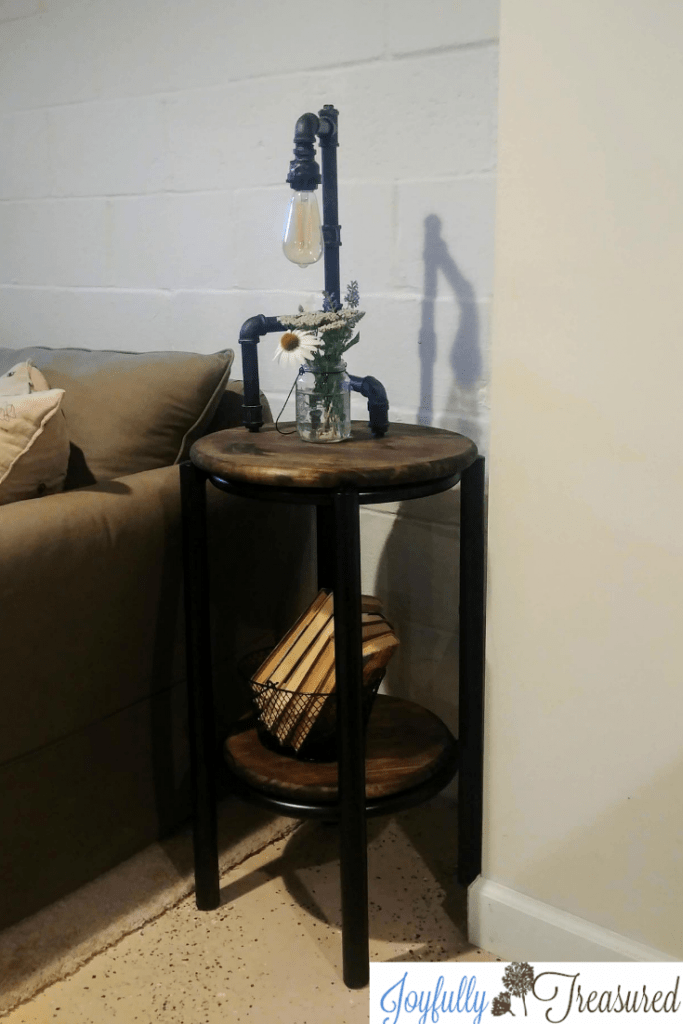
My Mother-in-law was so pleased to see them put to good use. They have a sort of rustic industrial vibe that works perfect for our man cave/playroom basement.
Do you have a favorite upcycle idea? I would love to hear about it!
For another fun upcycle transformation, take a look at this wicker chairs and milk can table bistro set!
FAQs: Spray Painting Metal Furniture Indoors & Out:
- Can you spray paint metal furniture without sanding? Yes, you can spray paint metal without sanding if the surface is already smooth, matte and rust-free. However, for the best results and long-lasting finish, lightly sanding or scuffing the surface helps the paint adhere better. If your piece has chipping paint or rust, sanding or using a wire brush is highly recommended.
- What kind of spray paint should I use for metal furniture? Look for spray paint formulated for metal surfaces, ideally with a built-in primer and rust protection. Brands like Rust-Oleum Universal or Krylon Fusion All-In-One are great options. These paints are designed to bond well to metal and resist chipping, fading, and corrosion, making them perfect for both indoor and outdoor furniture.
- Do you need a primer before spray painting metal furniture?
Many modern spray paints for metal include a primer in the formula, which saves a step. But if you’re working with bare metal or a high-use surface, using a separate metal primer first can improve adhesion and durability. - How long does spray paint take to dry on metal furniture?
Spray paint typically dries to the touch within 30 minutes to an hour, but for best results, allow at least 24 hours before using the furniture. Dry times may vary depending on humidity, temperature, and the number of coats applied. - Can I use a brush instead of spray paint on metal?
Yes! While spray paint provides a smooth, even finish and is generally faster, a high-quality paintbrush and metal-friendly paint (like Rust-Oleum Protective Enamel) can also work well, especially for touch-ups or smaller pieces. Brushed finishes may show more texture but can be easier for indoor projects or tight spaces.