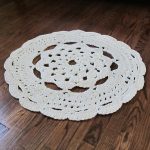
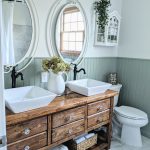
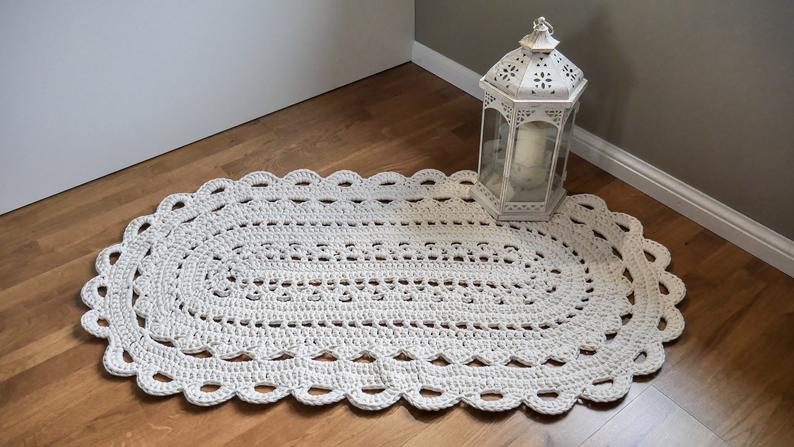
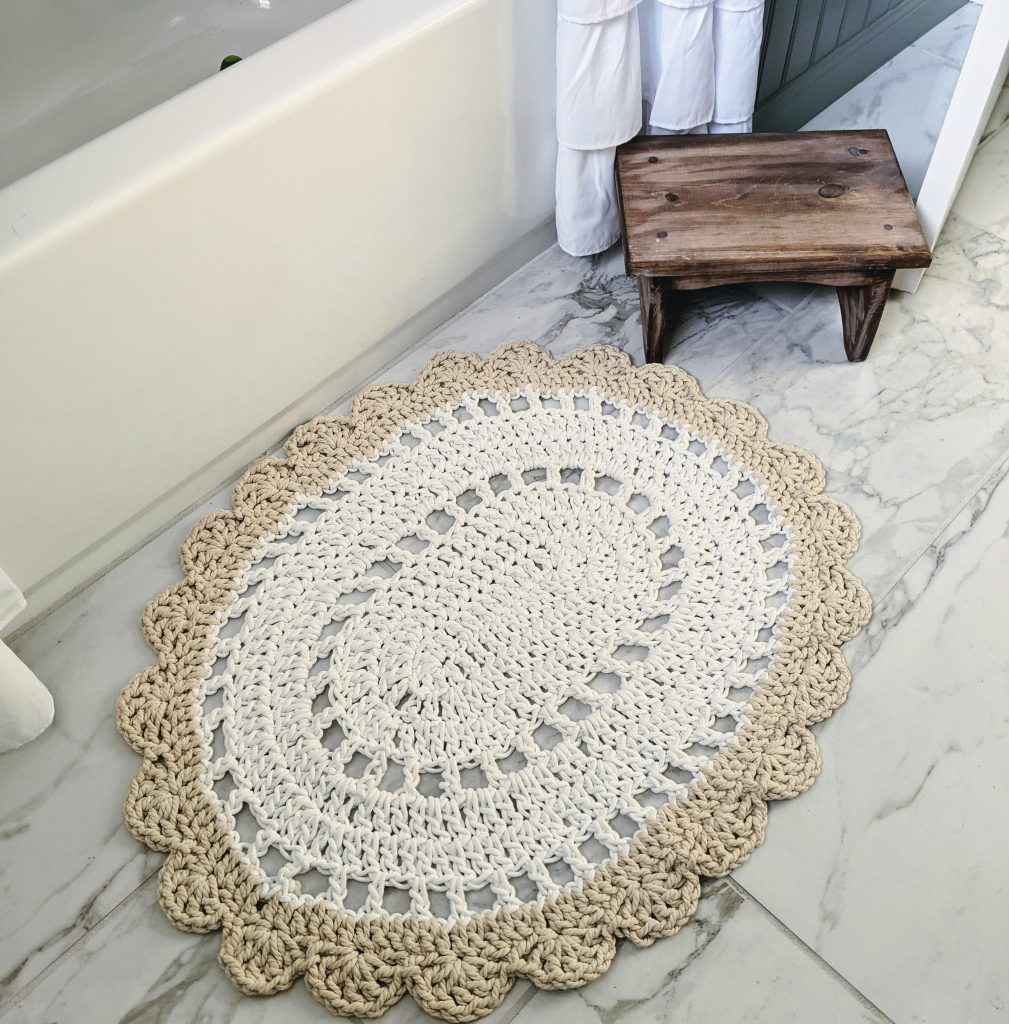
This oval crochet rug adds some cottage charm to the bathroom. In this post, I’m sharing the process to crochet a rope rug, as well as a free pattern for a vintage inspired bath mat! Post contains affiliate links.
Being home full time has been both a blessing and a challenge. As a mom, it can feel like you’re constantly doing everything—cleaning, cooking, homeschooling—without getting much time to just be. I reached a point where I needed something just for me. A simple, peaceful creative outlet.
That’s when I came back to crochet.
Crochet has been the perfect quiet-time craft—something I can pick up in short bursts while the kids play or nap. If you’re just getting started (or getting back into it like I was), I highly recommend this beginner crochet book of dish cloths on Amazon. It’s full of simple and quick patterns—exactly the kind of satisfying wins that kept me motivated in the beginning.
And as I got more confident, I discovered one of my favorite things to make: rugs! It started with taking basic crochet doily patterns, and using clothesline to transform them into beautiful rope rugs for our home. This easy doily crochet book is a gem for that—especially if you love that cozy cottage-core look.
These small, beautiful projects helped me reconnect with a sense of accomplishment—and now I’m completely hooked (pun intended!).
Making a Rope Rug
Using a thick material, such as rag yarn, cotton rope, clothesline, or macrame cord, you can create affordable and beautiful rugs in just a few hours!
In many ways, I find crochet with rope or line easier than crocheting with yarn. Since it is so much larger, it is easy to see each stitch. I am far less likely to miss a stitch or add one too many.
I wanted to make a vintage style bath mat for the bathroom, something like this absolutely beautiful rug I found at Meelimari Designs on Etsy.
I searched everywhere for a similar pattern, but most of the oval rug patterns I found were too advanced for my skill level. In the end, I put together a very simple oval rug of my own.
Update: I did find this gorgeous digital download rug pattern on Etsy with included video tutorial! I really love the patterns in her shop!
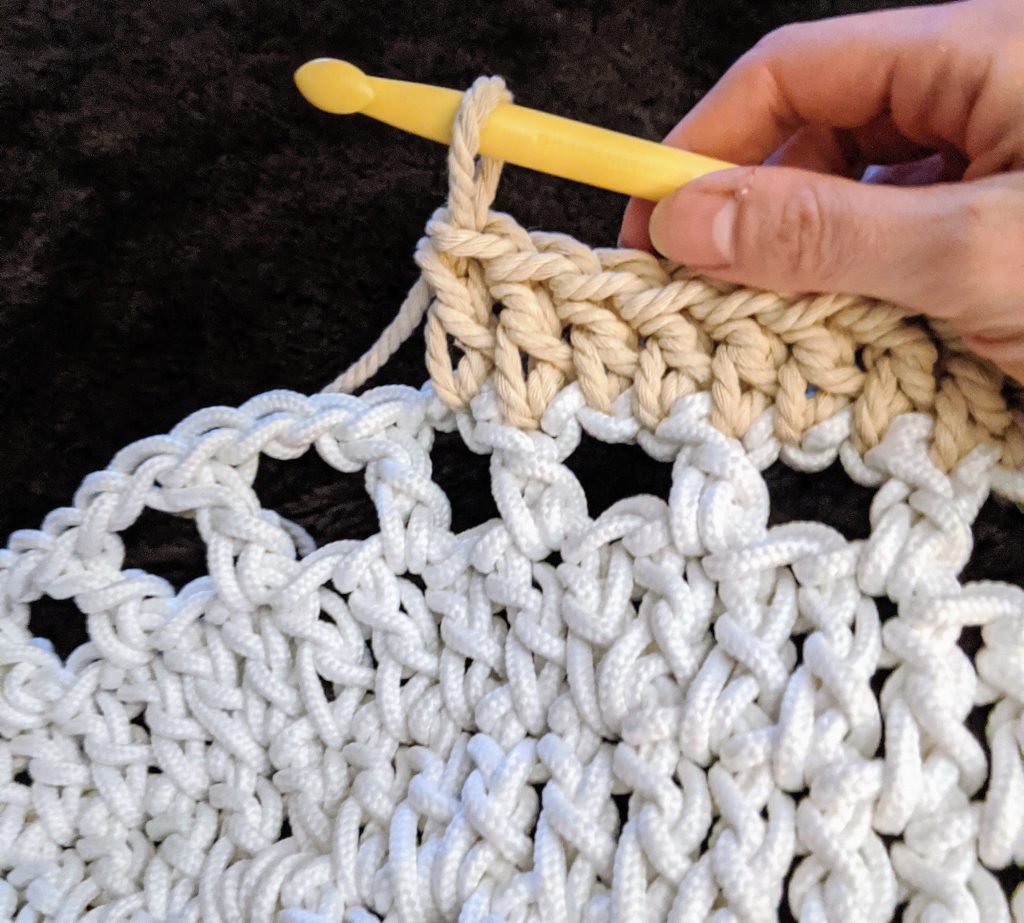
Crocheting with Rope, Cord, and Clothesline
Crocheting with clothesline or rope is very much like crocheting with yarn.
The main difference is using a larger than typical crochet hook. I believe the hook I used for this rug is 15mm, but you could use even larger than that. I love these large wooden hooks. At the time, I just couldn’t find my larger hooks!
The size of the hook will determine how tight your stitches are. A slightly larger hook will yield a slightly larger rug.
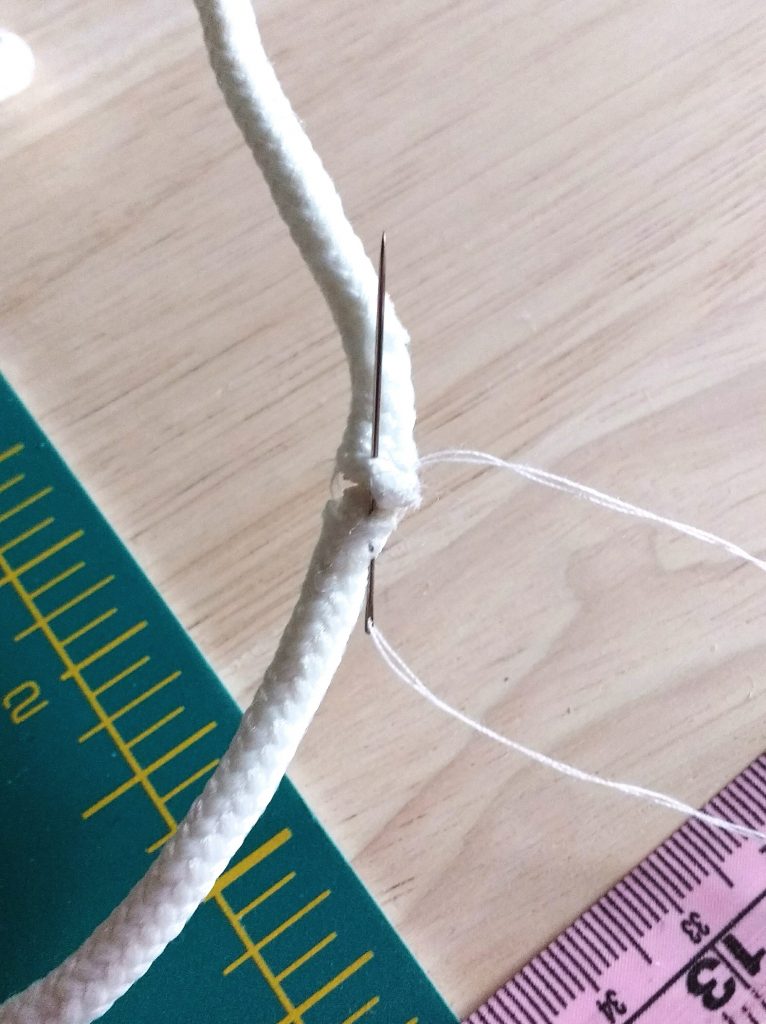
Using the larger hook, you can otherwise crochet with rope the very same as you would with regular yarn. When you get to the end of a roll of clothesline or rope, it is time to join. I join the rope in one of two ways.
The first method is the neatest and most professional. Join the two ends together, and secure with a needle and thread. This creates a seamless and invisible join.
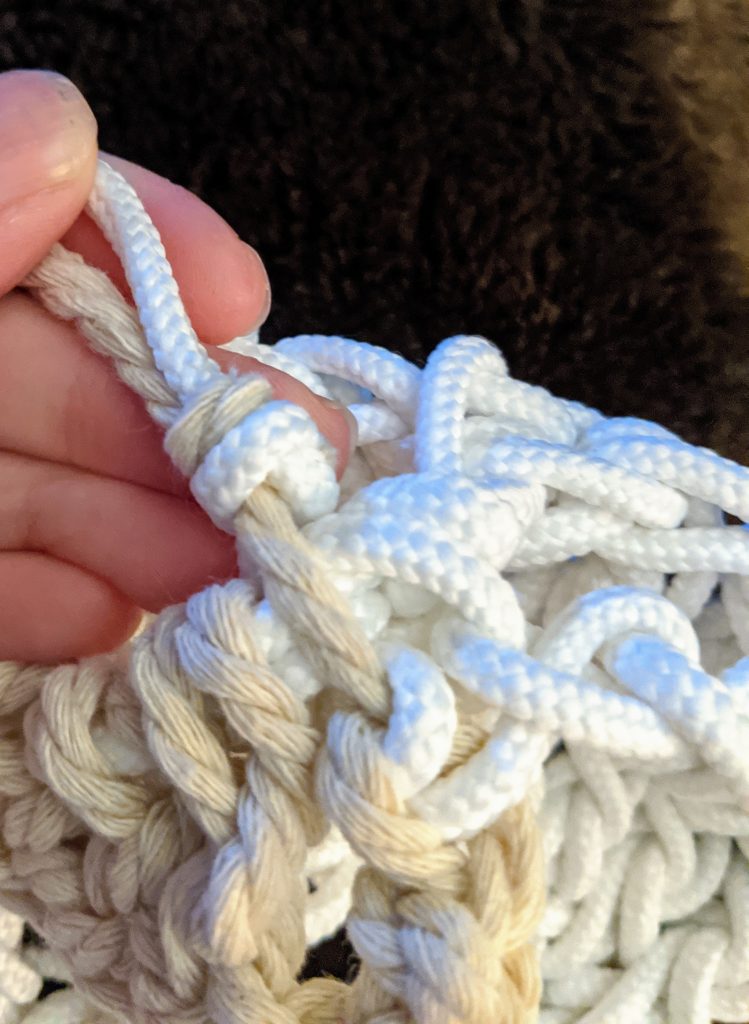
The second method is quick and simple, but the joins will be visible on the underside of the rug.
Simply tie the ends together, and keep going! If you are crocheting with a toddler nearby, this method definitely gets points for being easy.
Here is where I switched colors, tying the white line to the macrame cord.
Crocheting an Oval Rug
I am not experienced when it comes to DIY patterns. So, I’m just grateful that this rug looks pretty and it laid flat in the end! I did keep track of the stitches I used, so I could share the pattern with you!
The stitches are very simple. To make this rug, you only need to know double crochet, chain stitch, and slip stitch!
Crocheting an oval is very much like crocheting a circle, except the two halves of the circle are divided by a section of straight stitches. This free tutorial from The Crochet Spot was great, she explains how to start an oval in such a simple way to understand. I used this oval method to start the first few rows of this rug.
You can also take a look at this simple tutorial from Spruce crafts on scalloped edging. This is the border I used on my rug. In the tutorial, you can see pictures of how a scalloped edge comes together.
Oval Crochet Floor Mat Pattern
Finished Size: 32″x26″
Materials:
- 200yd clothesline (2 packages)
- Macrame Cord
- 15mm Crochet Hook
The pattern is copied out below, or you can CLICK HERE to get the PDF of the pattern!

First, Chain 15
Round 1: 2 dc into 4th chain from hook, dc into next 10dc. 6 dc into final ch. Dc into next 10 dc, 3 dc into last ch.
Join with a sl st to top of beginning ch 3
Round 2: ch 3 (counts as 1 dc) do not turn, dc into same st as sl st, 2 dc in each of next 2 dc.
dc in next 10 dc, 2 dc in each of next 6 dc, dc in next 10 dc, 2 dc into each of next 3 dc, join with a sl st to the top of the beginning ch 3
Round 3: ch 3, dc into same st as sl st, dc into next dc, (2 dc into next dc, dc into next dc) 2 times, dc into next 10 dc, (2 dc into next dc, dc into next dc) 6 times, dc into next 10dc, (2 dc into next dc, dc into next dc) 3 times, join with a sl st to the top of the beginning ch 3
Round 4: ch 5 (counts as dc and ch sp), skip next st, (dc in next st, ch 2, skip next st) all the way around, join with slip st in third chain of ch 5
Round 5: ch 3, 2 dc in chain sp, (dc in next st, 2 dc in ch sp) all the way around. Join w/ sl st in top of ch 3
Round 6: ch 3, dc into same st as sl st, (dc into next 4 dc, 2 dc into next st) to end of round. Join w/ sl st in top of ch 3 98 st) +49 =147
Round 7: ch 5, skip 1 dc st, dc in next st, (ch 2, skip 1 dc, dc in next st) to end of round. Join w/ sl st in third ch of beginning ch 5.
Round 8: I switched colors at the beginning of this row to a natural cotton cord.
Ch 3(counts as first double crochet), dc into each st all the way around. Join with a sl st, into top of chain 3.
Round 9: (scalloped edging) skip 2 st, dc into third st from sl st, ch1, (dc into same st, ch 1, repeat 2 times), dc
(this makes 5 dc st separated by ch 1, all worked into the same stitch)
Skip the next 2 st, and sl st into third st.
(Dc into third st from sl st, ch 1) repeat 3 times, dc) skip the next 2 st, and sl st into third sth
Repeat until you are about to begin the very last scallop.
To finish off for this last scallop, skip 3 st, dc into third st from sl st, ch 1, (dc into same st, ch 1, repeat 2 times), dc, skip the next three st, and sl st. into third st.
Finish with a slip knot, weave in ends.
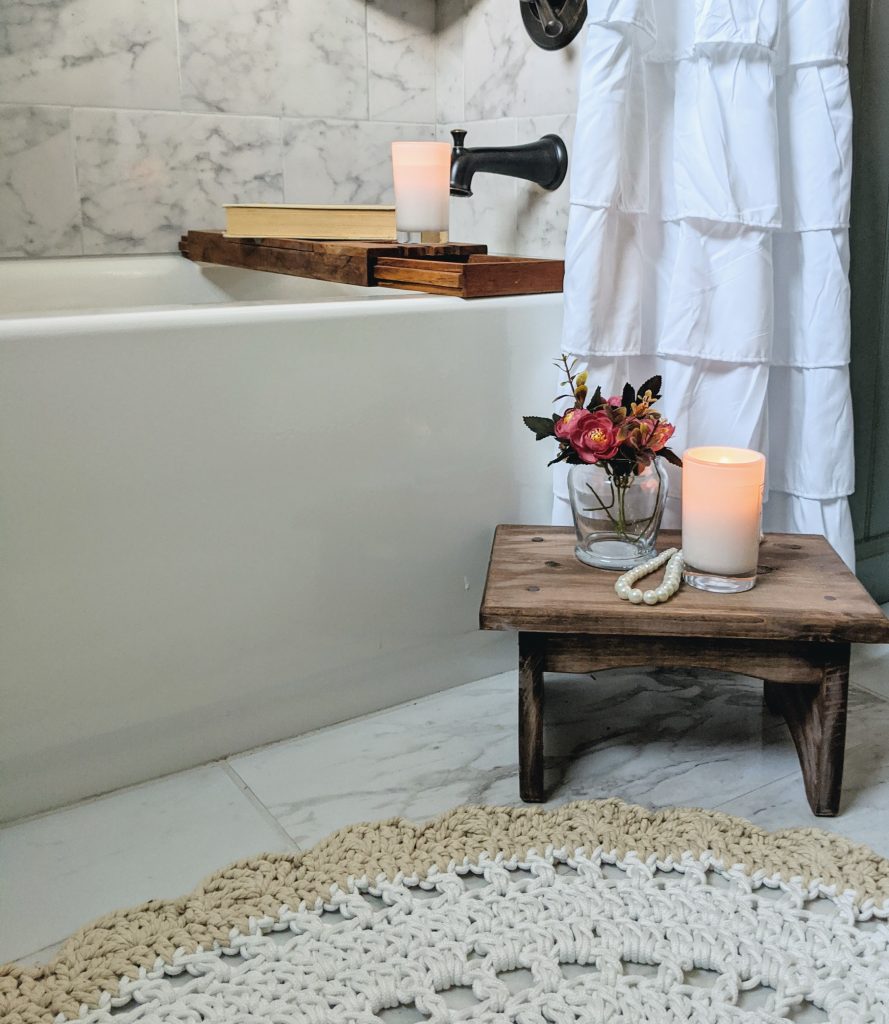
I absolutely love how these little rugs turned out! Here they are in our new bathroom.
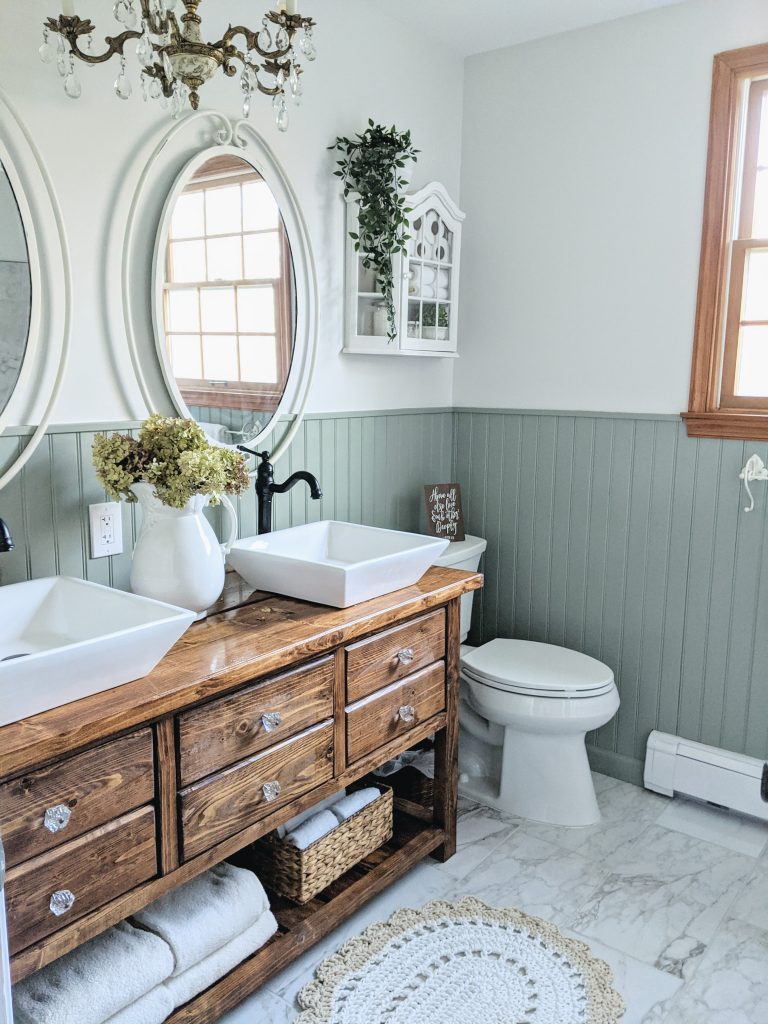
I think they add such a fun vintage style with the two toned design and scalloped edges!
For another beginner rug idea, check out this simple doily rug.
Have you crocheted or knitted for your home lately? I’d love to hear about it!